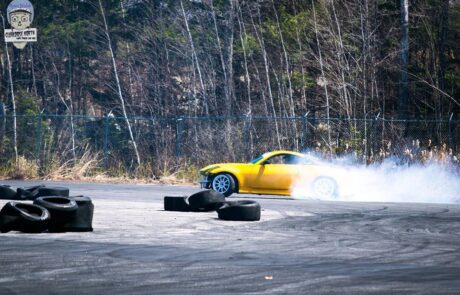
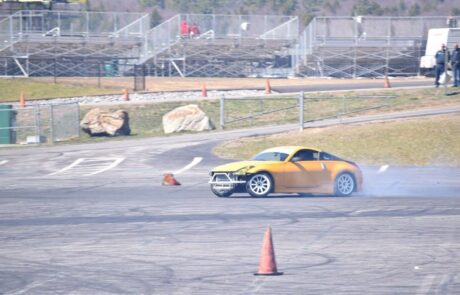
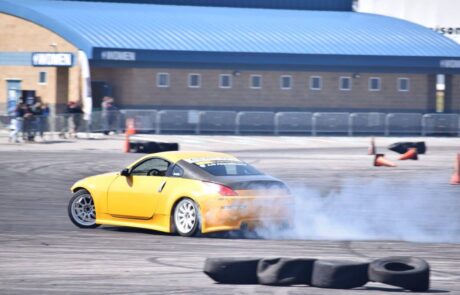
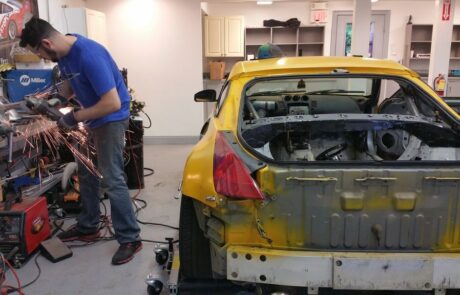
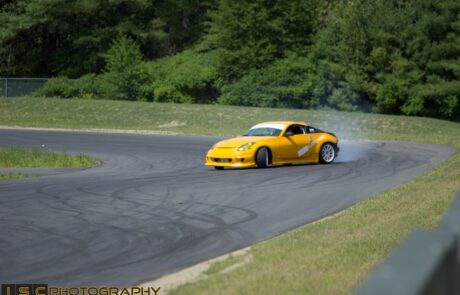
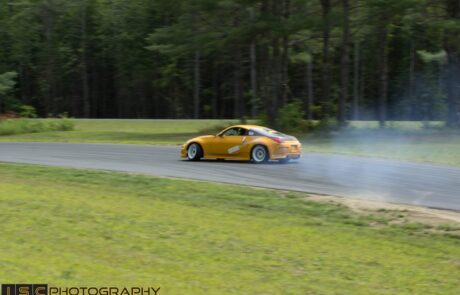
Nissan 350z Drift Car
Introduction
Vehicle: 2003 Nissan 350z
Project Goal: To build a competitive drift car
Start Date: March 2016
2019 Supporting Partners:

After a great year running our BRZ drift car in 2015 we decided to switch things up for 2016. We wanted to take a different approach, using a more drift orientated chassis. In the world of Drift Nissan has a lot to offer. From the S13/S14 chassis, do the 350z/370z chassis, and even the older classic Datsun’s. The 350z made the most sense for us, due to the current and future products we want to offer for this platform; it will be a great way to test and develop new additions to the ISC 350z product line.
March 5 2016
So here we are in the beginning stages of our 2016 350z Drift Project! All the entries and updates will be located on this page. Our local series that we sponsor (ClubLoose North) is only a month away, so needless to say we have some work to do.
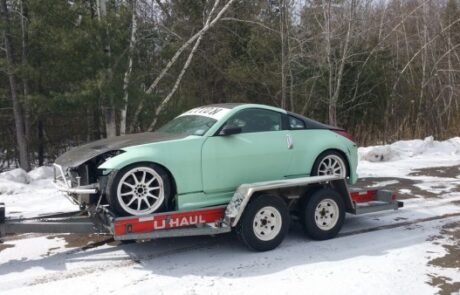
After keeping an eye out over the winter last week we were able to source Nissan 350z that fit within our needs and budget. It was currently living its life as a drift car, and was sitting for a year or two. It is a bit rough around the edges, BUT it was a great platform to start on so we took the plunge. Jorel and Andrew drove through the night down to New Jersey about 6 hours away to grab the 350z last week.
Here are some images representing how it looked when we picked it up last week:
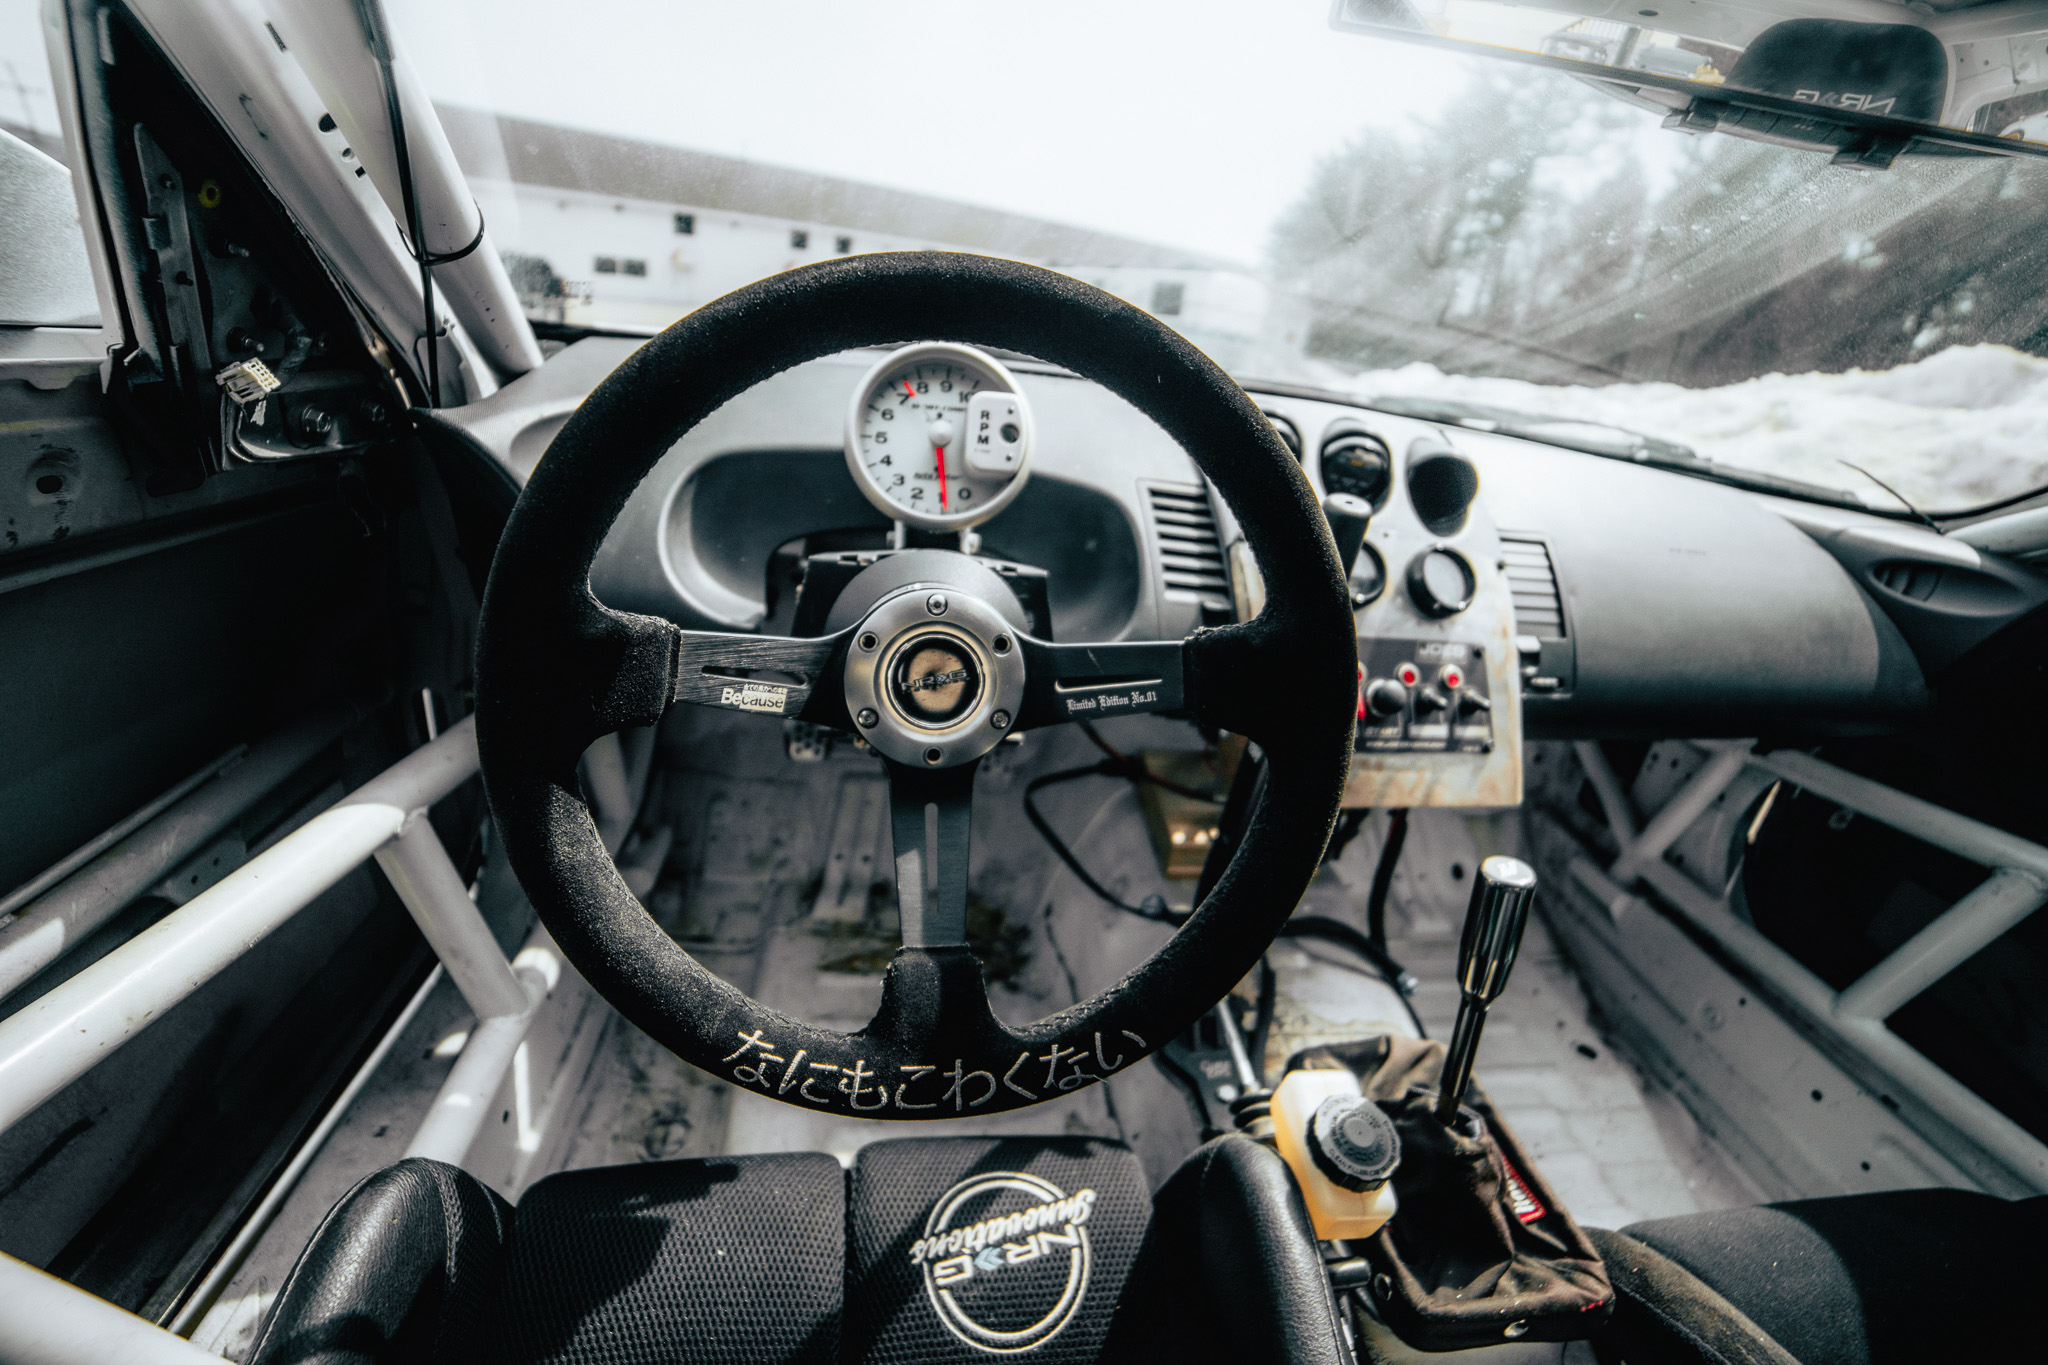
As you can see, the interior needs some work. Although it will stay gutted, we will implement a formal dash, with actual gauges!
We gave it a good cleaning, found a lot of leaf debris, as it must have sat under a tree for a while. We gave it a compression check, new NGK 1 step colder spark plugs, and a oil change.
Stay tuned for next week’s coilover installation!
March 10 2016
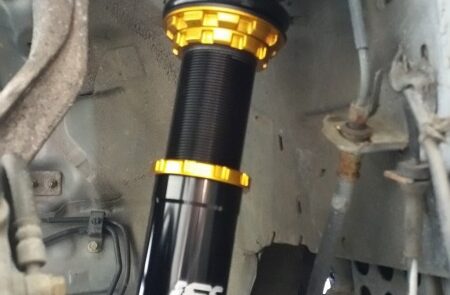
After Cleaning the Z up last week, doing fluids and some basic maintenance it was time to work on suspension. We put on some of our ISC N1 Street Sport coilovers.
Formal 350z Installation Guide from this install is located here: (Coming Soon)
Obtaining optimal ride height for this application is key with the front end suspension design on the 350z platform. As we got the Z was to low, it looked good, but drift wise it would not have been as functional, so we raised it about 1.5 inches. Future suspension modifications will include camber arms and an angle kit, but we made some progress today by getting some fresh coilovers on there! The 32 way adjustable ISC’s make for a perfect drift platform, and have been proven through years of drift use, including Formula drift with drivers like Jeremy Lowe and Tyler Nelson. Our first event next month will be a shake down and tuning day, with a big focus on suspension tuning and vehicle dynamics.
More information on our coilovers for the Nissan 350z can be found here: https://iscsuspension-na.com/store/#!/350Z-G35-Coilovers-Suspension/c/12617079/offset=0&sort=normal
After we install the camber kit we will do a formal alignment here at our facility. First drift event is only a month away, so we have some work ahead of us! Next post will be about mounting the race seats correctly, a new radiator and some body parts!
March 18 2016
Some new (to us) components have been arriving this week. We got a new (used) hood since the carbon fiber one that the car came with was to far gone unfortunately, saw 1 to many hits! We got this OEM hood that we will paint shortly, to the NEW color of the car we have in the works 😉 Paint color will be top secret until officially released!
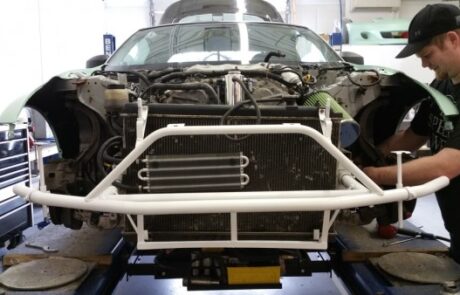
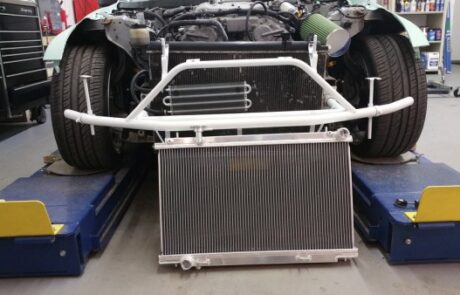
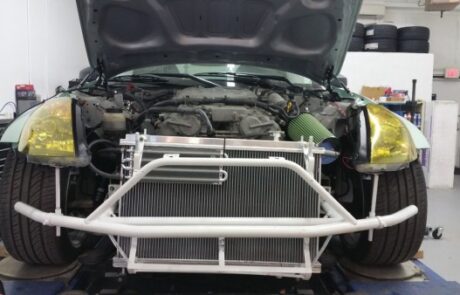
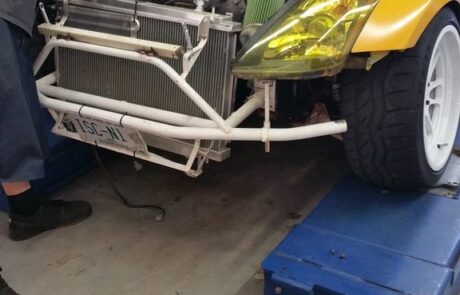
We also got a new radiator and headlights today. The headlights is came with had broken tabs and we were unable to mount them securely to the tubular front end of the car. The OEM radiator we had was fine, but due to the abuse these vehicles go through we felt the car deserved a nice aftermarket aluminum radiator. The old coolant was disgusting so we were glad we got that situated!
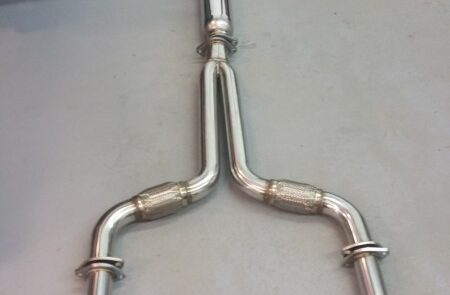
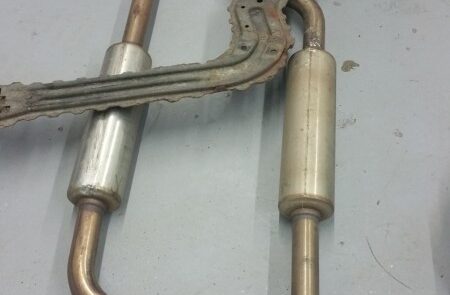
Next on the list was exhaust. We ordered a Invidia exhaust system and ran into a little issue. Come to find out our current aftermarket setup was a true dual exhaust, this invidia system brings the dual into a single exhaust where it meets the catpipes. Hope was not lost, we were able to source a stainless steel assembly, and even delete the cats! So we killed two birds with one stone. It did push back productivity since we needed to order additional items, but that should be ready for next week’s installation and blog topic. Will it be realistic to build a reliable fun drift car for $6,500.00 or under? The costs are rising but there is still hope!
We have only had the car for a few weeks and it is great to see it start to come together, but we still have a lot of work to do before the ClubLoose North Spring Opener which is less than a month away. In addition to the exhaust getting finalized next week we plan on properly mounting the race seats and harnesses, as well as beginning to do some body work. Stay tuned for next week’s progress report!
March 23 2016
This week the theme has been attention to detail. Although we still have plenty of fine tuning to do there were several smaller but time consuming tasks that needed to get situated. with ClubLoose North season opener 24 days away we are spending about 20 hours a week on this car until it reaches more mature stages of completion. The theme was also not being able to “catch a break”. Between having some defective new parts, strange surprises from prior work down before we owned it, and some not as advertised used parts we certainly had to invest a LOT of extra work into the car this week, which should have taken half the time!
The race seats were welded to the chassis of the car from the prior owner, literally welded. No adjust ability allowed. So, we cut the welds and pulled the seats and ordered some NRG rails and brackets. To our surprise the OEM mounting mounts on the chassis were welded over too, so this turned into a solid days project making this all work correctly. As luck would have it the NRG seat rail/ bracket didn’t line up correctly with the 350z mounting points, so we had to cut up the brand new bracket and weld the tab on correctly. These were about 65.00 each.
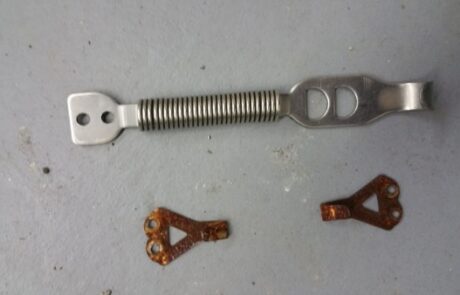
Next onto some body panel securing. The current “clips” were rusted, and the rubber bands that used to be there were replaced by zip ties. We ripped those off and picked up some of these puppies. Stainless steel too, so they shouldn’t rust again! These were 25.00 per pair.
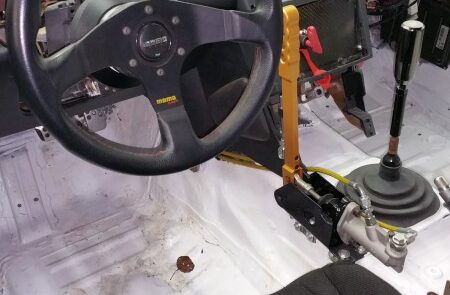
Next on the list was a handbrake. This drift car did not have one, and having a hydraulic handbrake especially for this vehicle platform is key. To keep this build down in budget Andrew picked up a used one on Facebook from someone for $100.00. Once we opened the box we realized that it was cracked, and bent, and beat. So spending $50.00 more on a new one would have been well worth it, sometimes you win and sometimes you lose with buying parts off of people! So…. time for more welding and powder coating, THEN it will be ready to use!
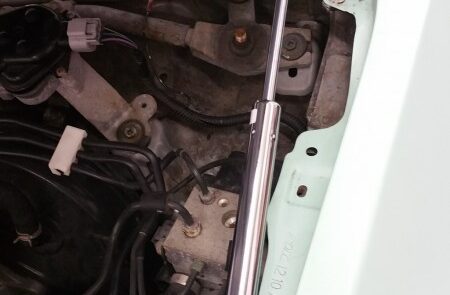
We threw on some NRG hood dampers as well this week. These were direct fit (pheww, something worked out for us this week) and now we can raise the hood and have it stay in place. These go for about $100.00.
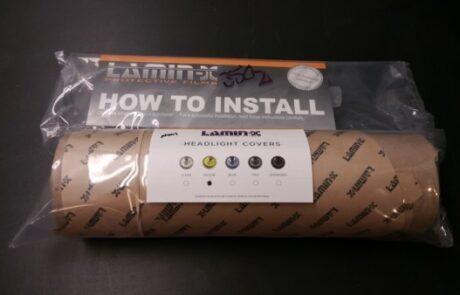
To compliment the new headlights from last weeks write up Andrew ordered some yellow Lamin-X. We have worked with Lamin-X in the past, they make a great product and they are a awesome group of people to work with. You you will to wait for the finished installation results but for now here is just a teaser
Time for a few stickers to go on 🙂
We decided on a paint color and we ordered some materials and supplies for the job.
For next week’s post: Prepping the 350z for exterior paint (including body work). Painting the gutted interior white. Drivetrain fluid changes. Installing the busted hydraulic handbrake (after we fix it), and maybe even installing the new exhaust system! A lot to do, we shall see!
March 20 2016
A lot went down this week, again it appeared to be another week of “attention to detail”.
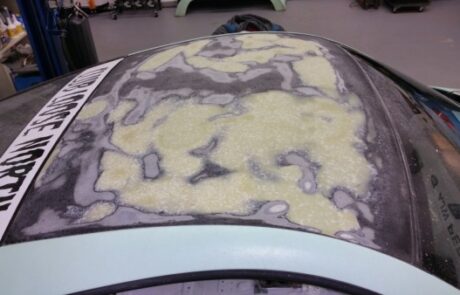
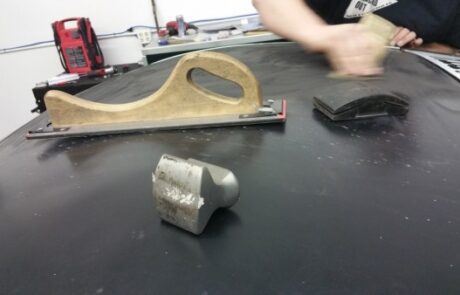
Body Work Preparation: Made some progress this week. Kyle did some body work on the roof, and we also painted the interior. The interior was multiple colors of unfinished attempts so we finalized it with a nice coat of white to give it a cleaner appearance.
We then formally mounted BOTH seats, as you can recall we did the driver seat a couple weeks ago, but the passenger seat did not have proper harness anchor points. The crew came in on Saturday and got some extra drift car hours in, this was one of the last steps in making this interior completed.
As promised here is the picture of the Lamin-X installed (www.lamin-x.com). Came out good in my opinion! Installing Lamin-X is a great balance of heat, water, and well… patience! The kits come with everything you need to install, and if you are a first time installer they have a lot of good pointers and installation guides on the website.
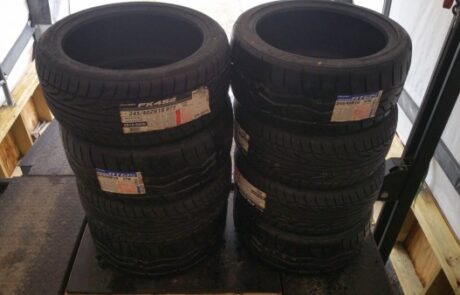
With the first event 2 weeks away it was time to start thinking about tires as well. We grabbed some rubber for the first event. We will be running a 245/40/18 tire size.
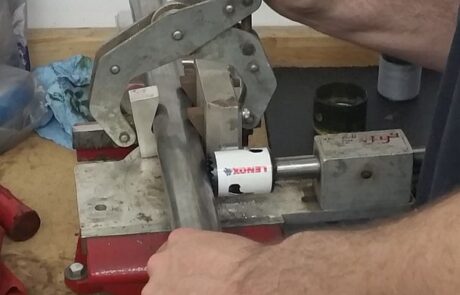
It was time to drill out the new hood we got so we could install some hood pins! Always interesting punching holes through things!
Things are coming together, There is a still a lot to be done but it is great to see and feel the progress. Next week we are going to situate the exhaust and continue to prep for painting the car.
April 5 2016
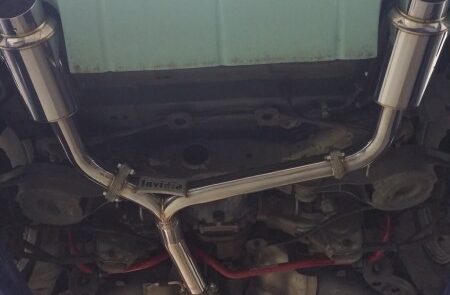
We wanted to situate the exhaust on this car. We thought we initially just needed a catback. We went with a Invidia system.
Kit can be located here: Invida 350z Catback
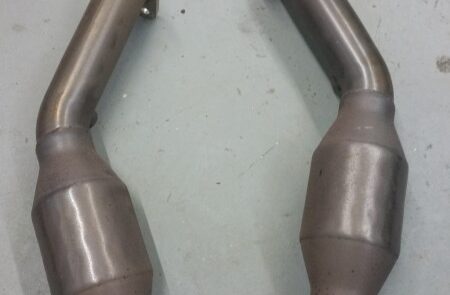
Invidia has a good quality system that won’t break the bank. When we went to install the system we noticed we overlooked something, so we had to order a different cross pipe for the system to work with the rest of the exhaust on the car. While we were at it (at this point why not) we went with some new “cat pipes” as well. The car came with some nice coated Stillen headers, so those obviously were left on the car, now we have a full header back system.
Out with the old and in with the new.
Next week we will continue to do paint prep. We are also going to be ordering some gauges and installing them.
April 15 2016
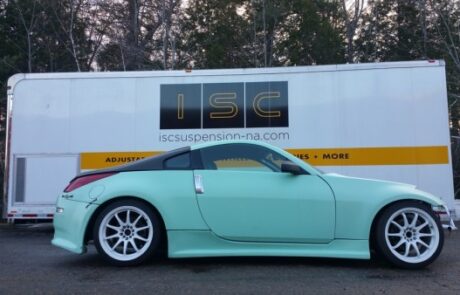
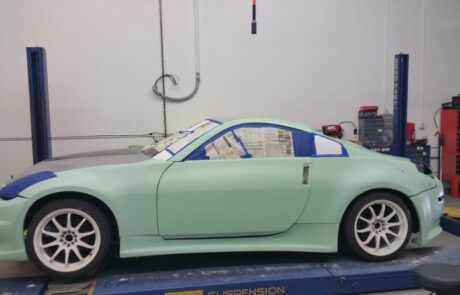
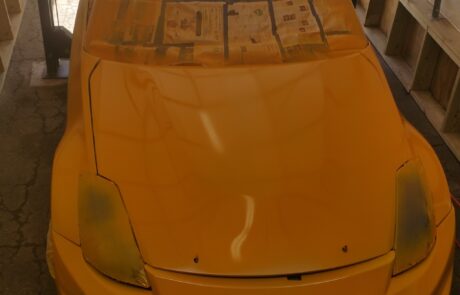
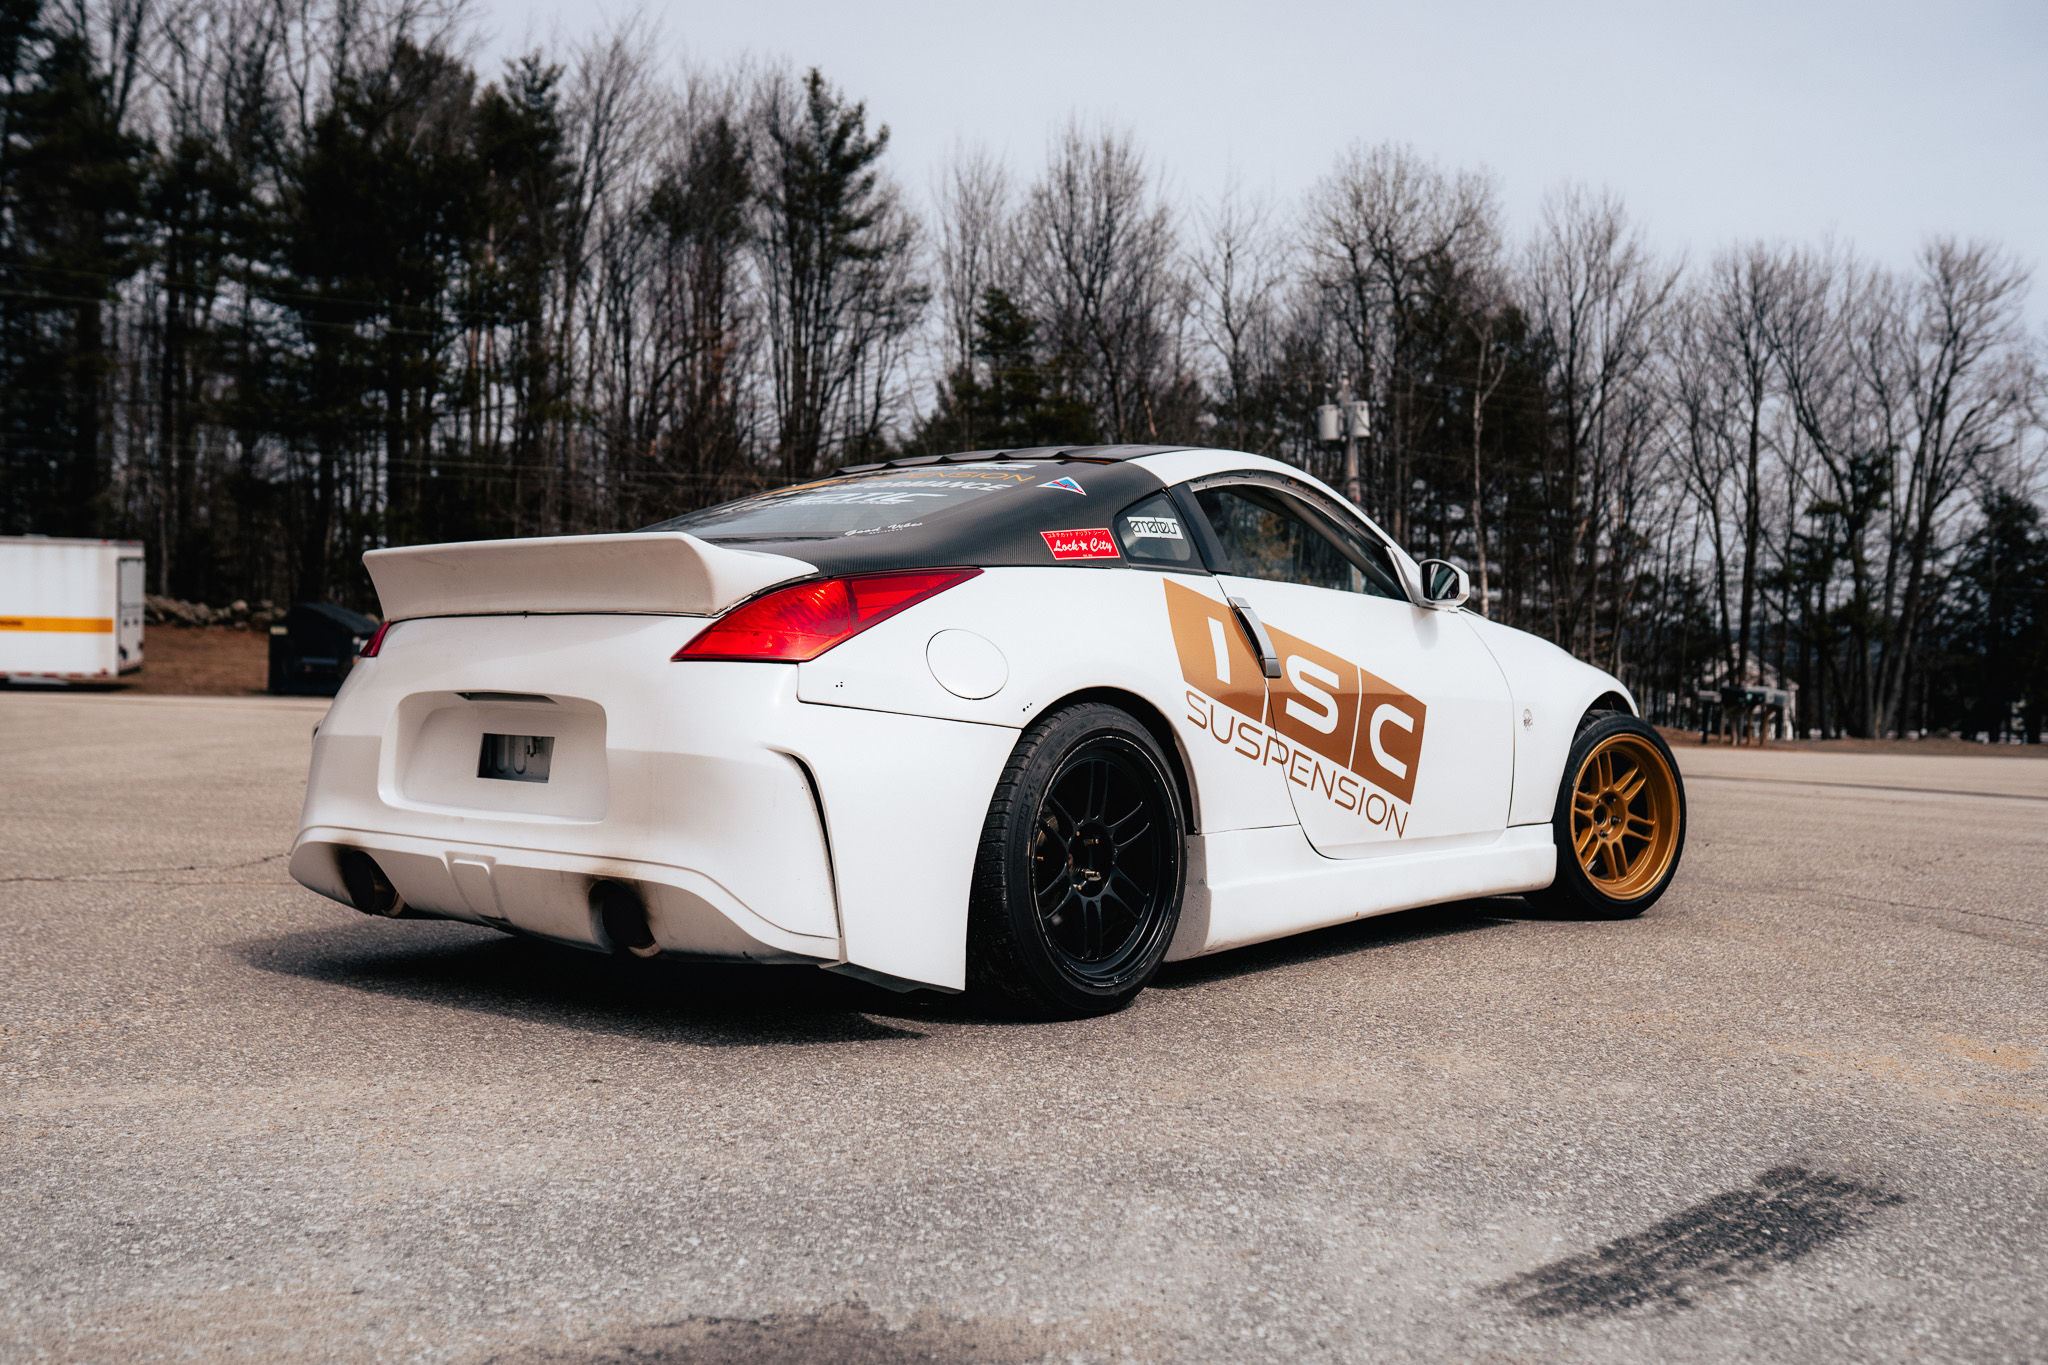
Paint time! we opted for a simple single stage “ISC” yellow. Simple, cheap, and when the car hits tires or a wall it wont be super painful to spray it again as apposed to spending $5,000.00 on a paint job.
Once the paint cures it will be time for some form of livery!
We also put on these adjustable control arms and did a much needed alignment! We have an alignment machine in house so it is a great tool and certainly often used for our shop cars or auto-x or drift, etc.
Alignment specs here:
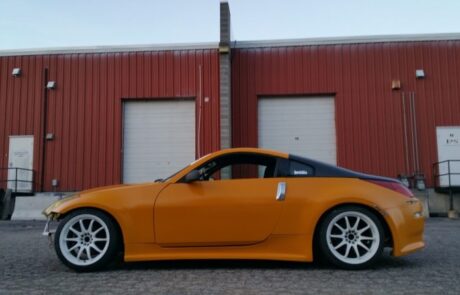
Overall we got a ton done this week. It was nice to get the car in a more brand orientated color, and also dial in the suspension more with the upper arms and the alignment. Stay tuned for next week’s ClubLoose drift event, this will be the shakedown!
May 6 2016
Event Coverage; ClubLoose North Opening weekend and Dirty 30 event.
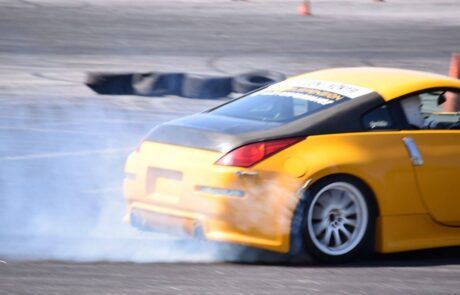
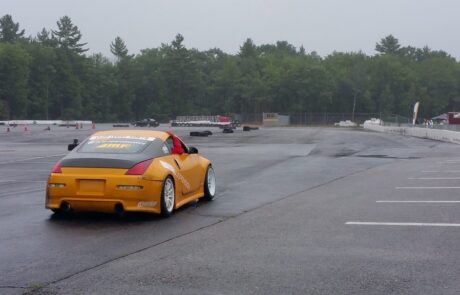
Events went very well. The opening weekend was a 2 day drift event, and Dirty 30 was on Saturday. Weather was great, the turnout was great as well. The first day was certainly a learning curve. Getting used to the car took the majority of the day for most of the team. That being said once we did all get used to it, we loved it!
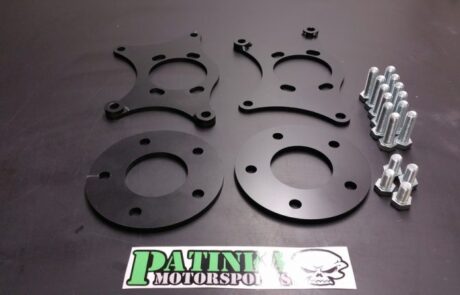
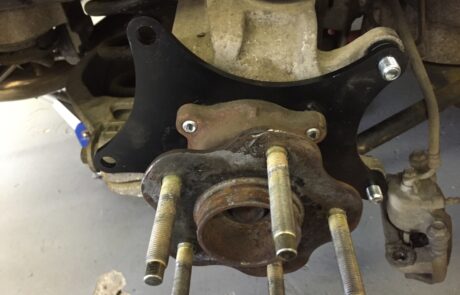
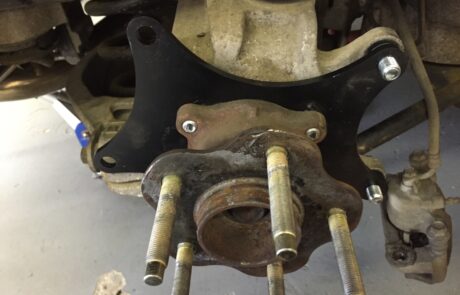
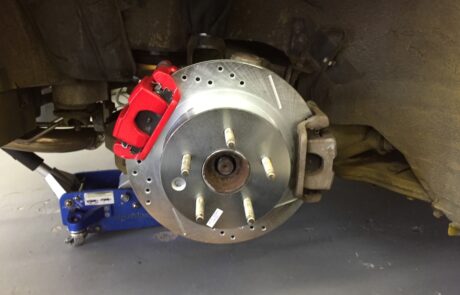
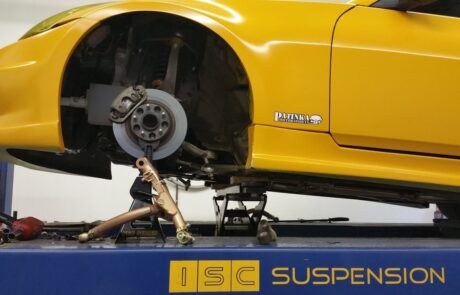
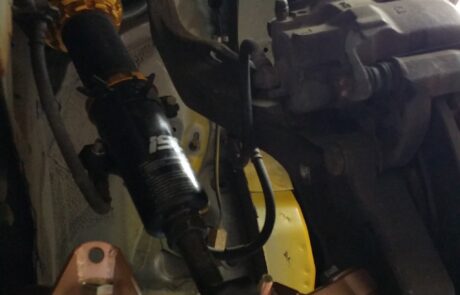
The handbrake set up is still not working correctly. So we teamed up with Bob Patinka of Patinka Motorsports. We are sponsoring him in Formula Drift Canada and he makes an awesome dual caliper setup for these cars. That will be a project for next week and we will keep you posted. Here is what the kit looks like. It is great quality and affordable. He makes them for S13/S14 and the 350z/370z chassis as well.
By the end of Dirty 30 we got moved up to A group! Very exciting but at the same time it means its not time for a cage. To run this class you NEED a cage. So that being said expect to see some progress on that in the near future.
June 5 2016
Been busy with the car the past few weeks.
So first things first, last weekend’s event we did not go to due to weather, instead we spent the day working on the Z and getting some stuff done so it is ready for the next event!
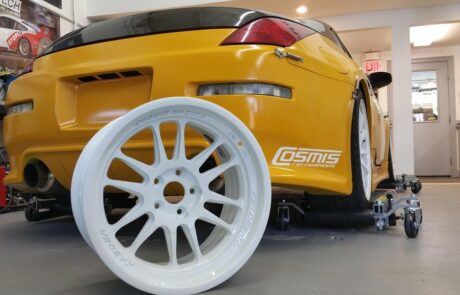
The Cosmis wheels finally arrived, and they look great!
Certainly worth the wait!
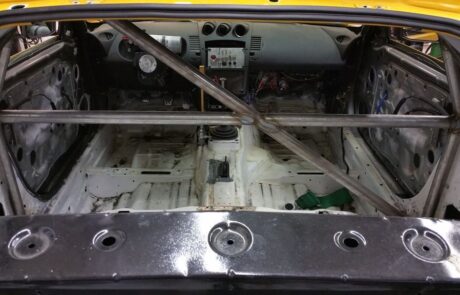
In order to run in the higher class we got promoted to we needed a cage. It was time and a cage was something we were planning on doing this season anyways. We ended up going with the Enjuku Racing 8 Point ER Spec 350z Cage. For now we will run the 4 point setup, and later this year when more time allows we will install the remaining components of the cage. here is a rendering of the completed kit for reference.
It took several late night during the week but we got it done. Here are some images of stages a long the way. Again the remaining cage will be done later on, but for now this is all we needed to be in the next class (for now).
Needless to say there was a lot of Pizza involved.
July 2016
The past month we have not posted much but we have been making some progress with our 350z.
We decided to bring the vehicle to spec for another local drift series in order to participate there. It is located in Caanan New Hampshire, Special Stage New England hosted by Lock City Drift. To run this series on their road course you need to have your bumper on, emergency flashers, head lights and tail lights working, and a drip pan. We had to wire in the flashers and tail lights so they were functional. So bumper was mounted and lights were wired!
On to the more exciting stuff. Now that we are running A Group we knew it was time for more angle. In order to be “competitive” and even to a certain degree safer. Having a angle kit allows for more angle drifting and a better looking drift, but it also can save you in the event of a error occurring on the track. in certain scenarios the difference between spinning out or not can be the difference of getting hit by someone or hitting a wall. A angle kit can sometimes prevent a spin due to the fact that, you guessed it; more angle!
We decided to go with the PBM kit. It is a good bang for the buck and also works pretty well. Installation with alignment took about 4 hours. The kit does not come with any instructions, so there was some trial and error. if you are familiar with these kits you can certainly install them much quicker.
On top of obtaining more angle we were able to dial in camber better as well as caster.
Below is a PDF of the alignment with the PBM kit:
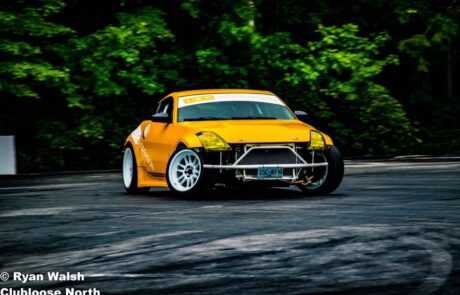
Here are a few images from the last event, Independence Moves (Clubloose North). It got rainy but we all still had fun. here is a small video of us in a 4 car tandem and almost getting hit!
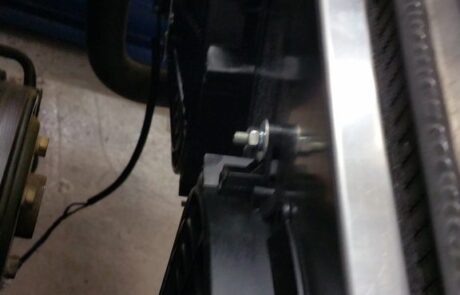
Next on the list for this week is to install some Mishimoto fans, as the OEM ones we have now are pretty tired!
August 10 2016- Radiator Fans- New Drift Event- Blown Motor!
Finally did new fans a a thermostat. To our suprise it still didn’t help our temps on the track, but at least they are new and we know working correctly.
Left out one other detail as well, last event ( Lock City Drift- Special Stage New England) we ran into some mechanical issues. One of the catpipes blew a whole in it, so we decided to call it a day after getting about a half day’s worth of driving in. When we got it back to the shop Kyle repaired the exhaust leak, but to our surprise something still did not sound right. We dropped the pan and found a lot of metal in the oil, coming from a bottom end bearing. With Hot Import Night’s at NHMS only a week or so away we had so act fast in order to get the car situated for the next event!
Here are a couple images from the Lock City Drift Special Stage New England event, we did not get a ton between learning the new track and blowing the motor!
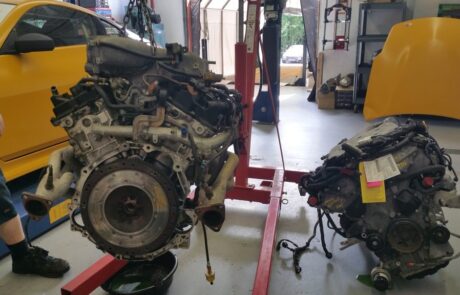
We planned on going V8 this winter, but happening this soon certainly threw off our plan. We opted to swap another VQ motor into it for now since doing a full V8 swap would have taken to much time and cut things real close.
New motor went in and we did not have any hiccups. We got it installed and running the night before Hot Import Nights (isn’t that always how it works).
August 27th Hot Import Nights + ClubLoose North
So as mentioned above in the last post we buttoned up the motor install the night before the event. usually that turns into a disaster of chasing bugs and problems the next day, but we got lucky and the car ran awesome! This event is special because it is the normal ClubLoose North track, and also for Hot Import Nights NHMS opens up part of their Nascar track and road course to us drifters! Brand new track to learn and play on during the heat of the show, which makes it extra enjoyable for all the spectators and show participants of HIN.
This track called for a 3rd gear entry, and for the most part 3rd gear the entire time. It was certainly the first time the car felt under-powered for me driving. The track certainly called for another 100 WHP, but it is what it is and we still did well and had a good time!
Car was still hitting some fairly high temps. At this point our goal is to make this motor last the rest of the season so we can transplant something else in it this winter during the off season.
Event coverage (video):
Towards the end of the day we had a little hiccup and under-steered into the infield, so a new bumper and fender may be in order!
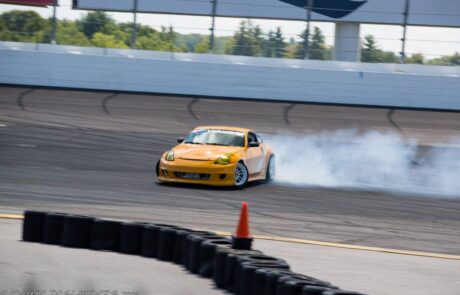
January 21st 2017- Clublosse North Ice Slayer’s Event Hosted at Team O’Neal Rally School
Usually winter for us is fairly quiet on the motorsports end of things. Being located in Northern New England, Mother Nature does not usually allow for a lot of activities involving driving, especially for drift cars. This past weekend on January 21st things were a little out of the ordinary.
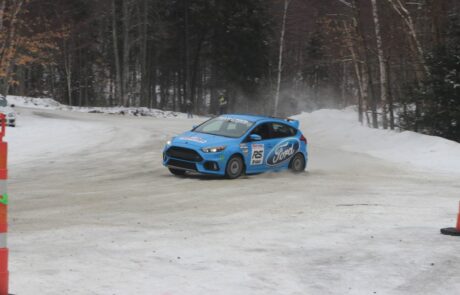
We took our Nissan 350z Drift Car Project out of hibernation (https://iscsuspension-na.com/company-vehicles/isc-nissan-350z-drift-car-project/) . Fluids were changed, batteries charged, tires installed and inflated and the ISC crew went northbound up to Dalton New Hampshire to visit the Team O’Neal Rally School (www.teamoneil.com). This event was put together by Team O’Neal and ClubLoose North (www.clubloosenorth.com) , our local drift club located here in New Hampshire.
For those of you who are unfamiliar with Team O’Neal Rally School, we highly suggest you check these guys out. Whether you are a Subaru or Ford owner looking to get into rally or rally cross in your personal car, or simply want to become a better driver this facility and business has something to offer for any car enthusiast. They also build rally cars for customers and even have programs that can help manage an entire rally team! Their facility and programs have attracted famous athletes from around the country over the years, like Travis Pastrana, Ken Block, and other well-known drivers who have competed on national and global levels in motorsports.
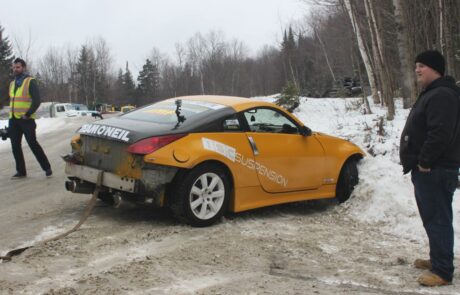
Not knowing what to expect condition wise we opted for some OEM style studded snow tires, in hopes to be able to obtain the amount of grip needed to drift their snow/ice covered rally courses. The ability to know what amount of traction we would be able to get was fairly unknown. The winter has been pretty unpredictable so far this year, with drastic temperature changes and minimal snowfall the course was primarily a base layer of ice, with some exposed hard pack gravel here and there. Packed snow was not readily available like we all would have hoped (for traction purposes) but that’s the way it goes up in Northern New England, unpredictable!
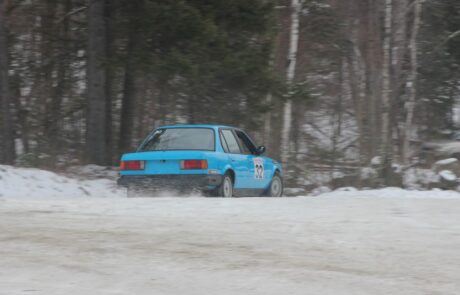
We had a great time just being able to get out there and drive, although the amount of grip was very limited for our RWD drift car due to it being mostly ice and now snow, we certainly had no lack in smiles and laughter. The event also attracted a lot of Subaru enthusiasts, which as you know ISC is no stranger to the Subaru community so it was great to see these AWD snow machines tear up the course as well, many of them running on our N1 and N1 basic coilovers.
2017 Season: September- December; A Time To Remember!
Our 2017 season was fairly limited. We battled engine issues with our VQ, which if you remember is a motor we already swapped last year. Due to the prior owners wiring modifications we did not have traditional OBD2 scanning capabilities, which added a unique twist to diagnosing the power loss problem. We tried spark plugs, injectors, knock sensors, MAF sensors, coilpacks, and finally realized it was time to just V8 swap it.
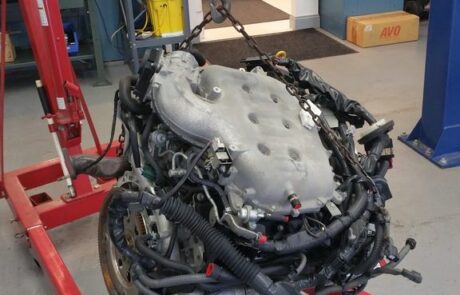
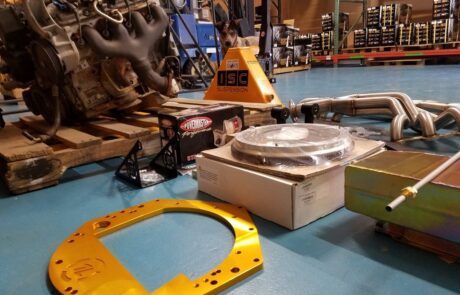
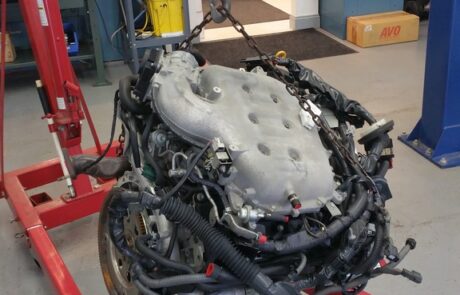
So we cut the season a couple months early, and in September dug into our V8 swap for our 350z, which was something we wanted to do anyways. Give yourself PLENTY of time, otherwise you will go crazy. Every-time we got close we found something missing, or something we needed, etc. In the end it will certainly be well worth it, having around 400 WHP in this car is going to be a blast. We were able to pick up a LS1 Corvette motor with low miles as the heart for the swap. We opted for the Enjuku Racing 350z LSX swap kit, which comes with the following pictured items:
Headers
Oil Pan/Pickup/Dipstick
Transmission and Motor Mounts
Drive-shaft- Note- They usually take 3 weeks to arrive
Starter, Flywheel, Shifting Linkage, etc
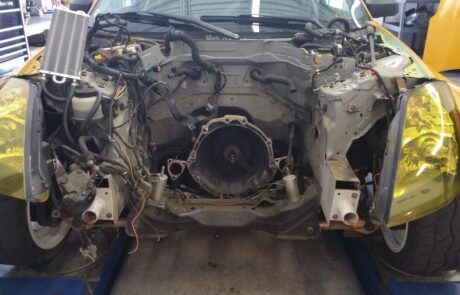
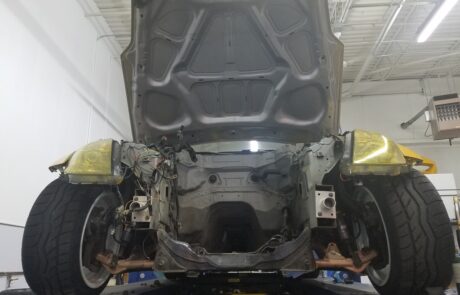
Having the front end being primarily tubular made this way easier, getting the front end off takes about 10 minutes.
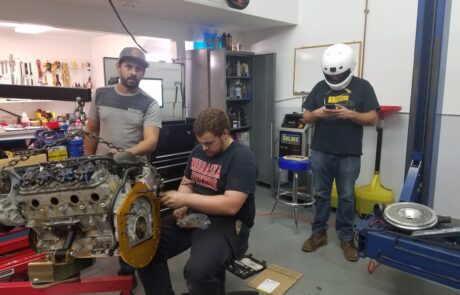
We decided to run our 350z CD009 transmission, as they are proven and known to be more reliable than the T56. A dog-box was not in the budget. The Enjuku adapter plate pictured here helps mate the LS1 motor to the OEM 350z transmission. This is what a 2:00am week night LS Swap looks like, unable to give up the crew pushed through the night in hopes to get the project done in time for a drift event that weekend. We tried, but failed! Progress was made though.
The Canton oil pan had some funky welds, a few burn through marks and even some rust. The kit does NOT include a gasket or hardware FYI. We were able to get the needed hardware from Lowe’s, and the gasket from AutoZone. The Enjuku engine mounts fit nicely, which you can see below:
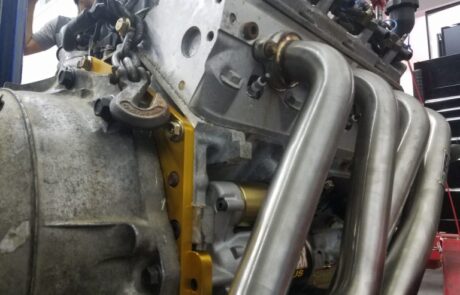
My personal favorite part of the kit from Enjuku is the 350z LS swap headers, quality and fitment were spot on. Jorel also enjoyed using them as a instrument during the exhausting all nighter. Gaskets on this are included.
It was a learning experience figuring out how to fit this assembly into the chassis. with the headers, without the headers, with the transmission on the motor, or motor separate? It was a guessing game for about 3 or 4 hours, but we finally figured it out. Note that that steering column linkage is VERY tight on the driver side header, so you need to have someone there spotting it while installing the engine. The solution that ended up working was installing the setup with the driver side header on the motor (steering linkage disconnected), then, once in, installing the passenger side headers separately. Pictured here you can see the adapter plate in action, the Enjuku headers, and the provided starter which comes with the kit.
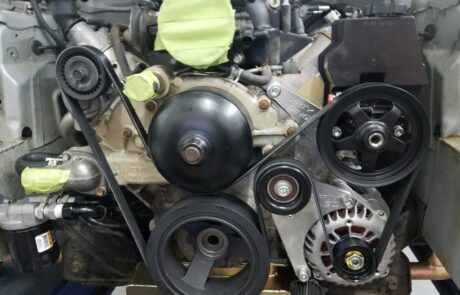
Since this was from a LS1 Corvette, the alternator was in the “wrong” position. We were unaware of this until we ran into another issue. After further research we were able to find a brand called “Dirty Dingo” which makes the appropriate relocation brackets for this to work. You can see them in the image below.
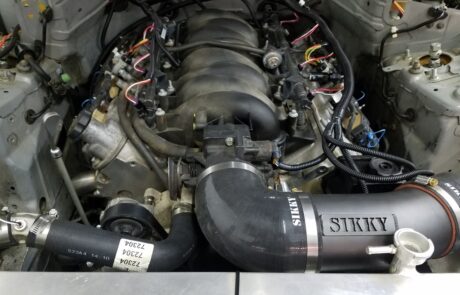
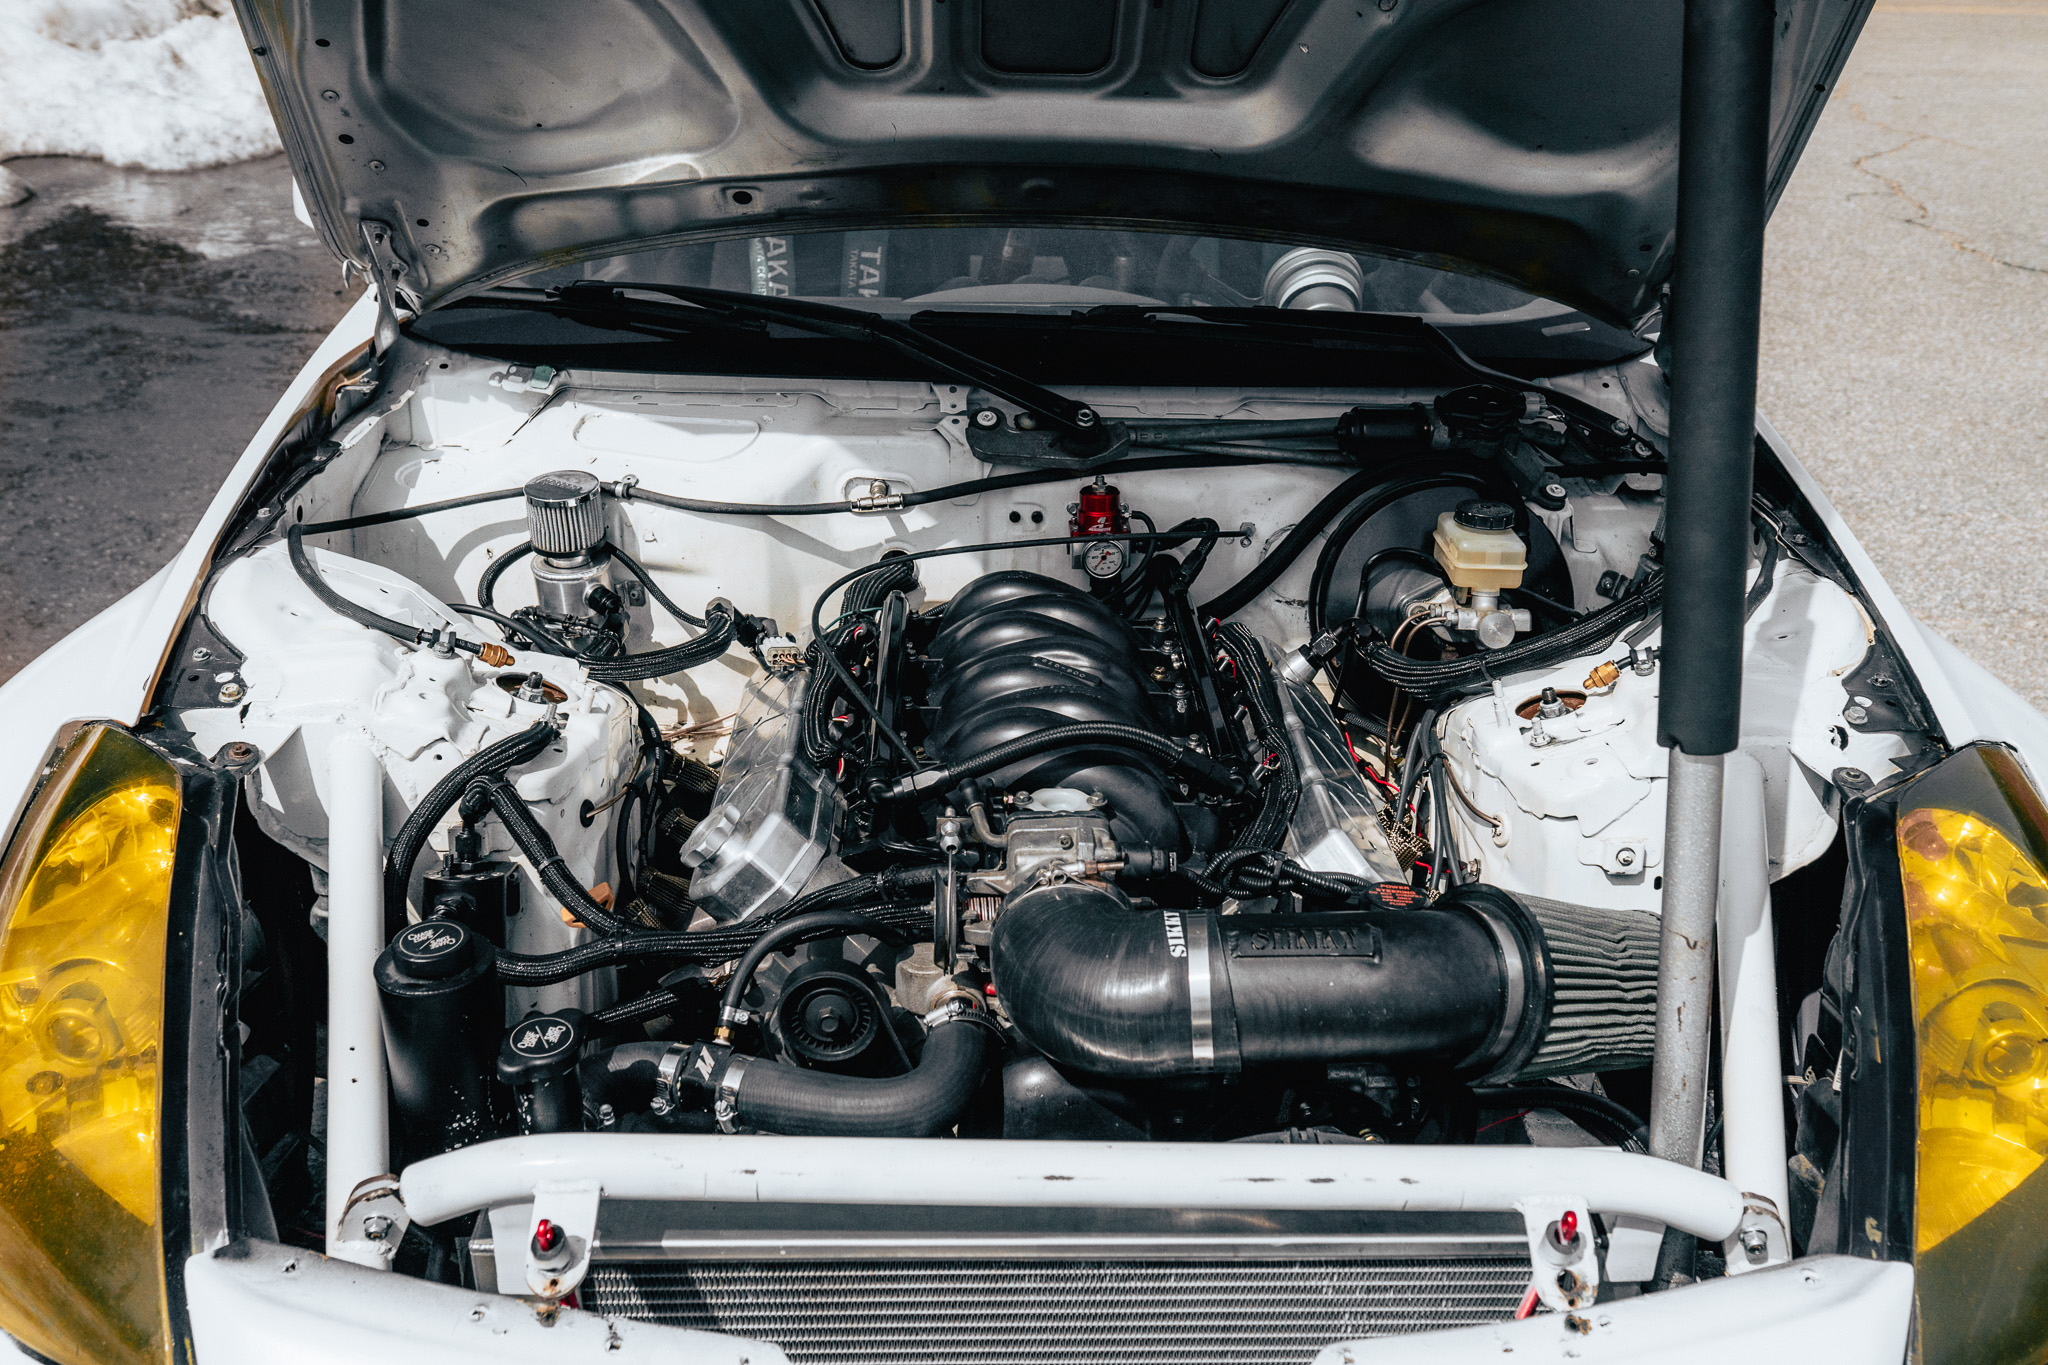
Installed finally! We installed the EFI Source MegaSquirt harness and engine management system. This does not come with the kit and is something available separate for purchase. Below you will see an image of it compared to our modified OEM harness that were were running with the VQ engine. We chose the SIKKY LS Swap Intake kit, which we ran into some fitment issues with our radiator, but with some modifications we were able to make it work.
Wiring/ Engine Management: Left= Old, Right- New. Kit does not come with O2 sensors, so a wide-band is suggested. When ordering this kit make sure you know EXACTLY which LS platform you have, including whether it is a 24X or 48X.
Throttle cable and pedal; well we had to dig around for a universal style cable throttle and pedal assembly. Since the OEM 350z setup is drive by wire, so it DOES NOT work. Keep a note on that since it is easy to forget.
(Dec 5 2017) We are getting close, the car is not completed yet, but we will try and keep you up to date with the finishing touches and more details. I wanted to have a more in depth write-up, but the direction this project took made it difficult to document all of this in “black and white” since it was a huge learning experience and journey consisting of many late nights, setbacks, and changes in direction. It has been rewarding overall thus far, with great people and the anticipation of the 2018 season being awesome with a couple hundred more horsepower under the hood.
Special Thanks to Tim Beauregard, Jorel Challenger, Mike Bruning, Danny Gill, Mike Bouhabib and Hank Goddard.
January 2019 – Another Overhaul
2018 the car traveled throughout the east coast and did well over 20 events. from Stacked at Pocono, to Lock City and several places in between. Over the summer we installed a WiseFab kit as well, and had it tuned down at Turbo Mike Tuning. So a lot went on, and we fell behind on posts here on our build page, but now we are back. We got the car running, but it wasn’t dialed. It was always to “just get it so it works for the next event”. Throughout the season we learned more, fixed more, and planned more. With Pro-Am in the pipeline, and more traveling for Team Tandems like Stacked and Team Vibes, it was time to start from scratch; well kind of.
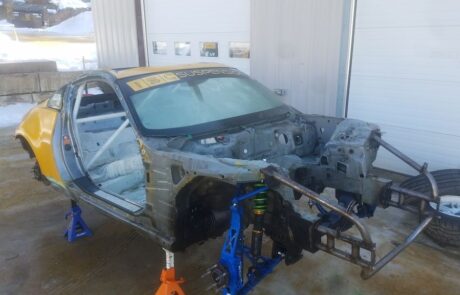
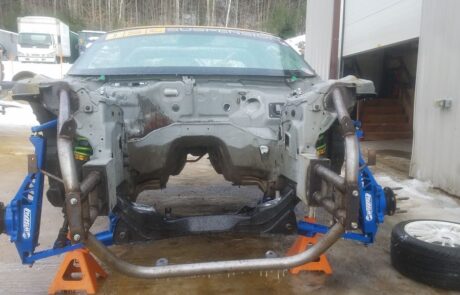
The cage had to be finished, the engine needed a reseal and for wiring and the PCV system to be cleaned up, the OEM fuel tank needed to get thrown in the dumper (for a fuel cell), and we wanted the overall presentation of the car to be cleaner and more refined. So what do you do with a running drift car that needs some TLC during the off season? You strip it down to nothing!
We took it outside on a cold winter day, and power-washed it, a true clean slate, ready for new fabrication, new paint, and new parts. We mixed in Simple Green, it worked pretty well despite the below freezing temps.
Throughout the next 2 or 3 months we will keep you posted as we push through this build, and wrap it up in time for the beginning of the season. With a MASSIVE event list this year made up of open track days, Team Tandems, and Pro-Am’s we are certainly going to get our fair share of seat time. It will be nice being 100% confident in our platform, and knowing everything was gone through.
Here is a summary of the objectives we are going to tackle and discuss further as we continue to go through this car during the off season:
- Finish Cage Work
- Fuel Cell + Fabricate Rear Tube Setup
- New Heads
- Cam
- Reseal Engine
- Improved PCV System
- New Clutch Kit
- New Fluids
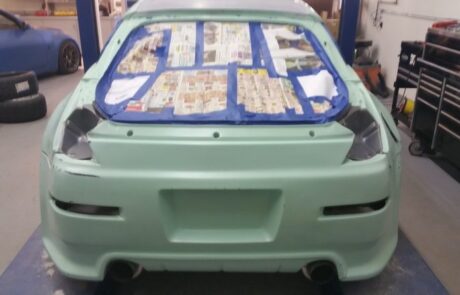
- Paint Interior, Exterior, and Engine Bay
- New Seats
- Rewire Chassis (with MegaSquirt)
- New Switch Panel/ Display (gauges, etc)
- New Wheels
- Alignment
February 2019- Completed Cage, chassis prep for paint/ assembly, fire suppression system arrives
We completed the cage, and prepped for the fuel cell. At this point aside from the mounting for the fuel cell, fab work on the car is finally completed!
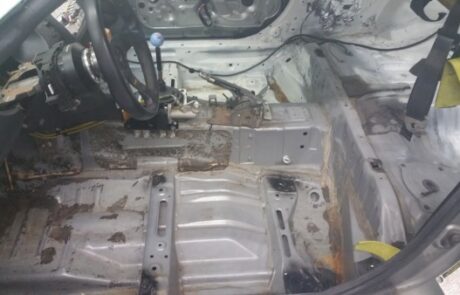
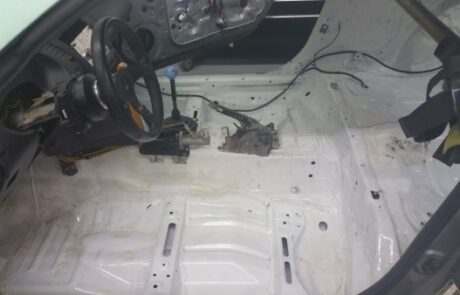
Since the chassis is stripped and needs paint anyways, we decided now was the time to remove all the “gunk” from the interior, chassis glue, sound proofing, and all that fun stuff. In theory it is claimed dry ice works the best, but since we didn’t have access to that we used a grinder, flathead, and a hammer. Next final step before paint will be aircraft grade stripping agent, so everything is clean and dialed before spraying. Check out this nasty stuff below.
Rear sub-frame is cleaned, and ready for new bushings/ install. By the next time we post it should look more like a car again, the season is right around the corner.
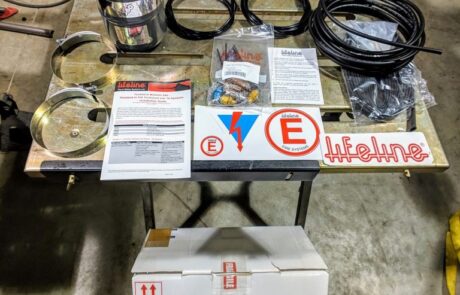
We teamed up with SafeLine Fire Safety USA, with a full Formula Drift legal suppression system, which we are using on all the team Pro-Am, and Formula Drift vehicles.
We ordered some FIA Legal race seats, a ClutchMasters FX400 clutch kit, and a few other final pieces to the puzzle that will allow the car to start coming back together in the coming weeks.
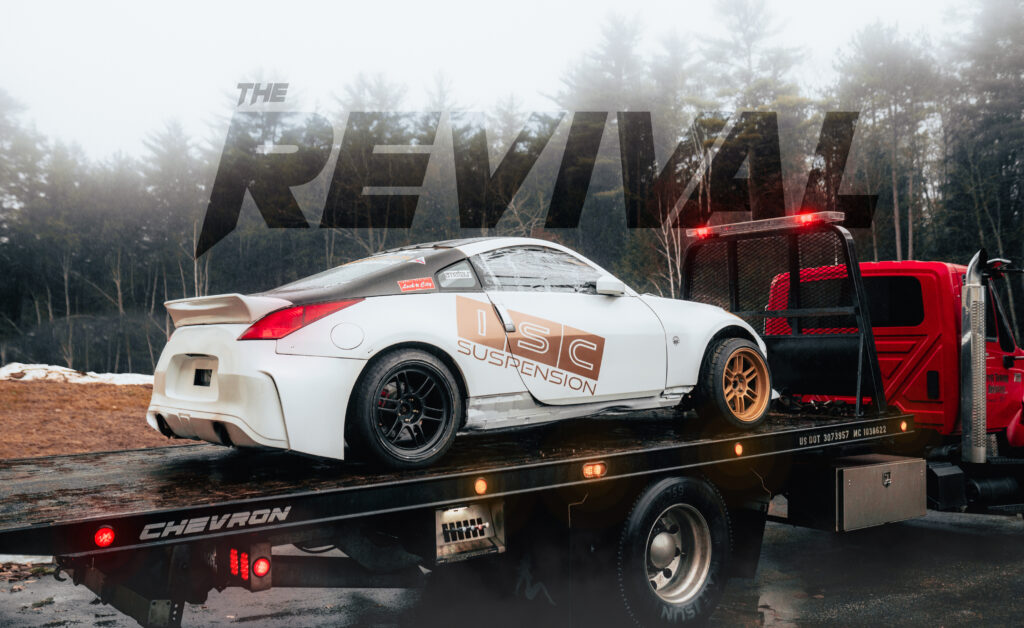
The Revival of the ISZ- LS Swapped 350Z (JANUARY 2023)
Ok, we admit. We have been bad at updating the 350z build page, but there is a good reason; our LS swapped 350z has been out of commission for about 2.5 years now (hence no updates). After we tore the car down again and rebuilt it for the 2019 season..an expensive newly built motor blew up on the drift track after just a measly 6 laps at NHMS due to some overheating issues, it’s been sitting neglected ever since. Other project cars took priority, and 2022 was a hectic year with our HQ move, of both the shop and our warehouse/office facility, so time certainly flew by.
We decided to take a much needed break from the car after 3 years of building it, and rebuild it at some point later on. Well, That later turned into 2.5 years but we agreed it’s time to get it running again, and hopefully use the car for ice drifting this winter as well. We’ve had a “new” LS1 for quite some time, so why not get it in, and have some fun with this car. If everything goes smoothly, we will also have a car for the summer of 2023 drift season.
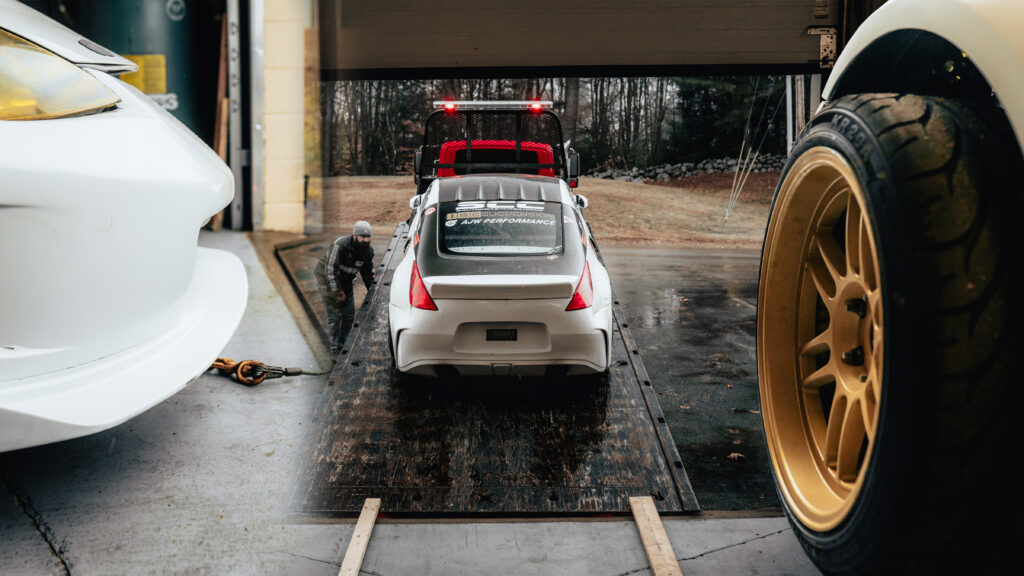
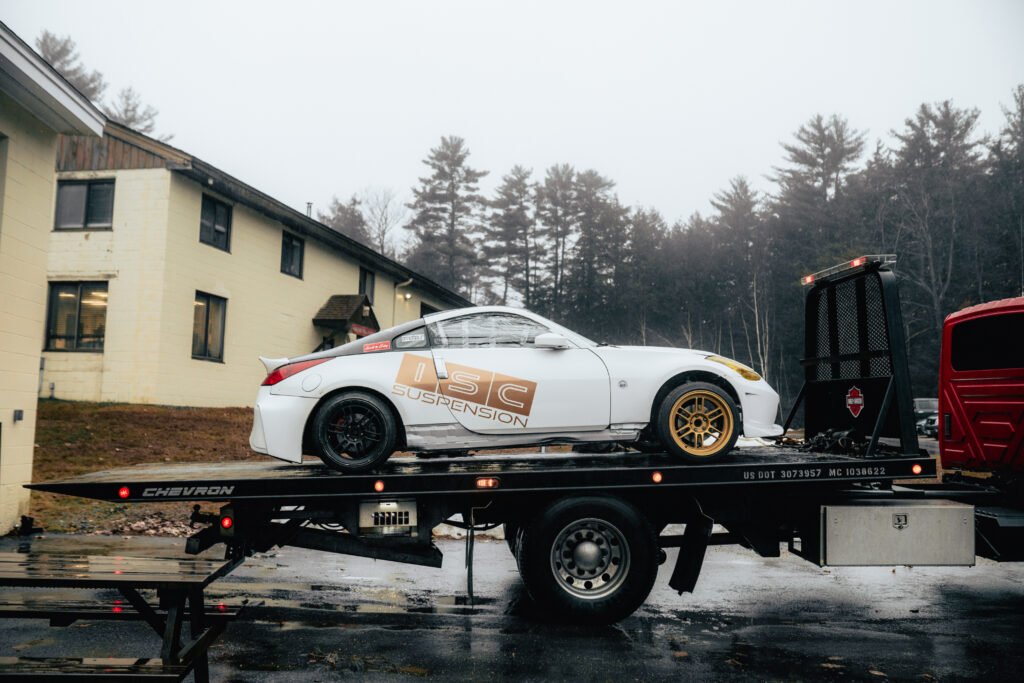
There she goes! We are sending the car and drivetrain to our friends at Kinetic Motorworks to get all the Z + LS swap parts transferred off the old motor, put in the new motor with all new gaskets, etc.This is a stock LS1, with a mild cam, so it should be a reliable fun setup with around 350 HP or so, which will suffice for its intended use into the near future.
Once the car is back, we might be installing some carbon overfenders on it. They are currently hung up on our shop wall for decoration (that’s how long i’ve had them for). We look forward to having this car back!
March 2023
Since we sent this car out to get re assembled, we were hoping to take it out on the ice this winter. Well, winter came and went and the ice was never truly safe to have ice drifting events. However we still have all summer to enjoy it, and hit some drift events with it. Big thanks to Kinetic Motorworks for fitting us in and getting this car in 1 piece again! They re-sealed the engine and made sure it was all set to go, as well as replace some gauges, wire the fuel tank, did a light maintenance refresh on the motor, and installed all the external motor accessories we had swapped from our old blown up motor. Once the engine was in and all buttoned up, Kinetic ran the car on their dyno to get a proper tune. This ls1 made 350 wheel horsepower, which is less than our old LS motor, but still plenty to have fun!
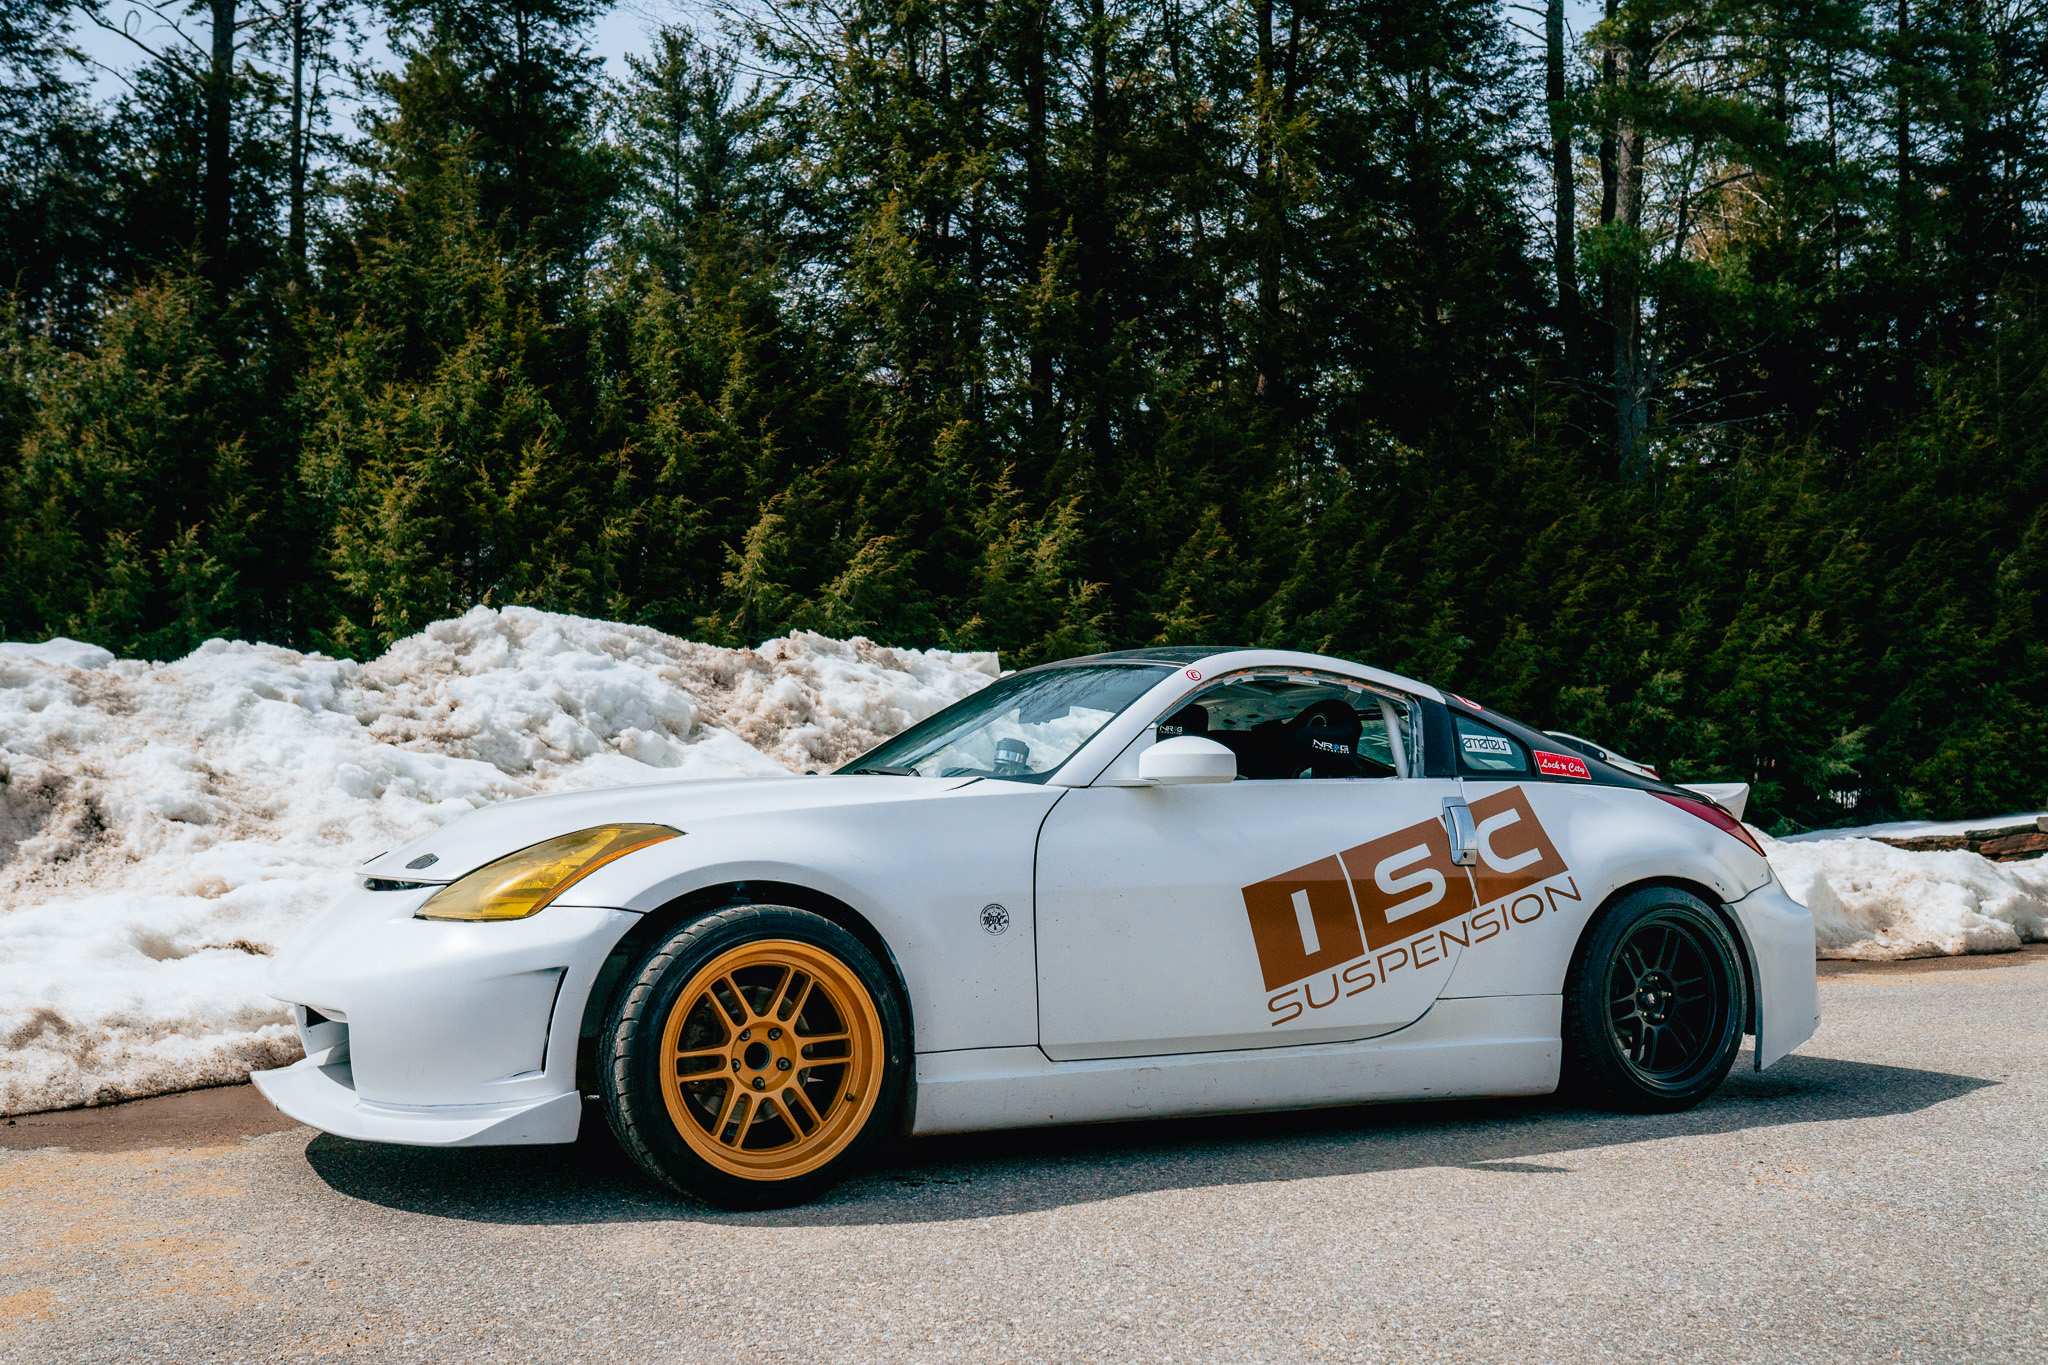
Now that the car runs and drives, we need to make this car look complete. We will be painting the car, as well as designing a one off livery. Stay tuned for the design process, as well as some media of us actually using the car for the first time in a couple years!

