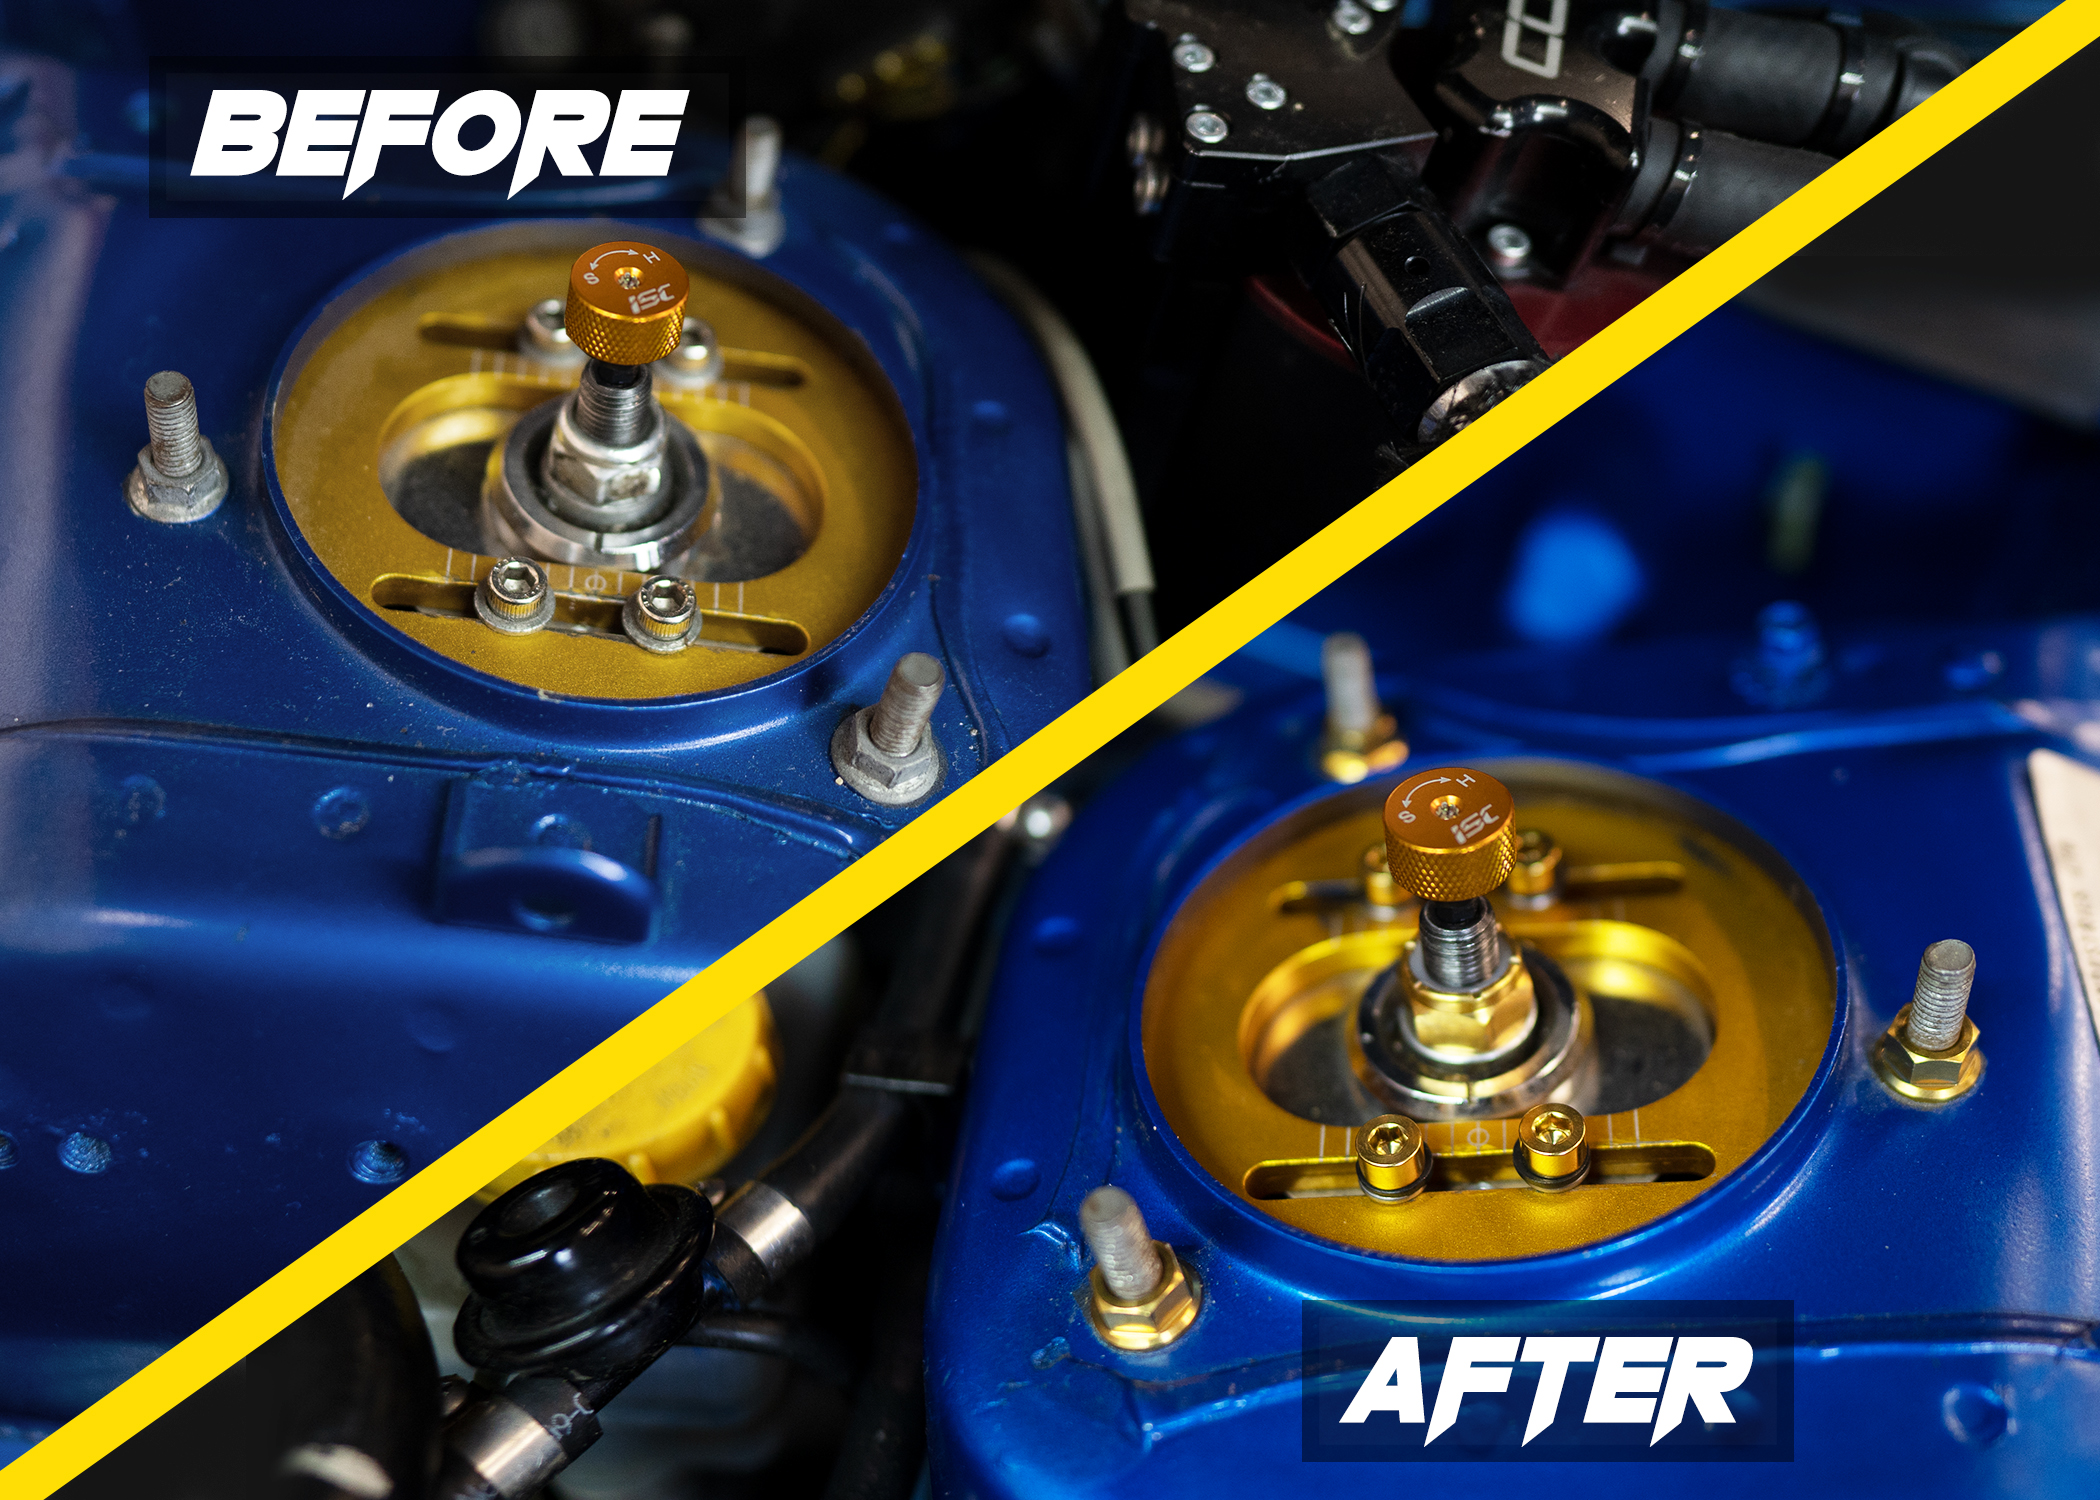
Introducing our newest coilover accessory, our Titanium Hardware Upgrade. These nuts/bolts are made to replace your old silver steel hardware, and not only act as stronger hardware, but also give your engine bay some style and a more custom feel! They are made from GR5 titanium, and we have 2 options of hardware color, either gold or black, or if you feel daring, you can mix and match. We offer a complete coilover makeover including top plate nuts, strut mount nuts, and pillowball bolts
How to install:
The installation for this hardware is fairly simple, and just about anyone can do it within a few minutes per side. In the video above, we go through the process and show you step by step. The tools needed are a 19mm pass through socket, a 5mm allen wrench, and a 12mm or 14mm wrench depending on what size your top plate hardware is. There are m8, and m10. Different makes and models will differ between these 2 options, so before buying, confirm which ones you need.
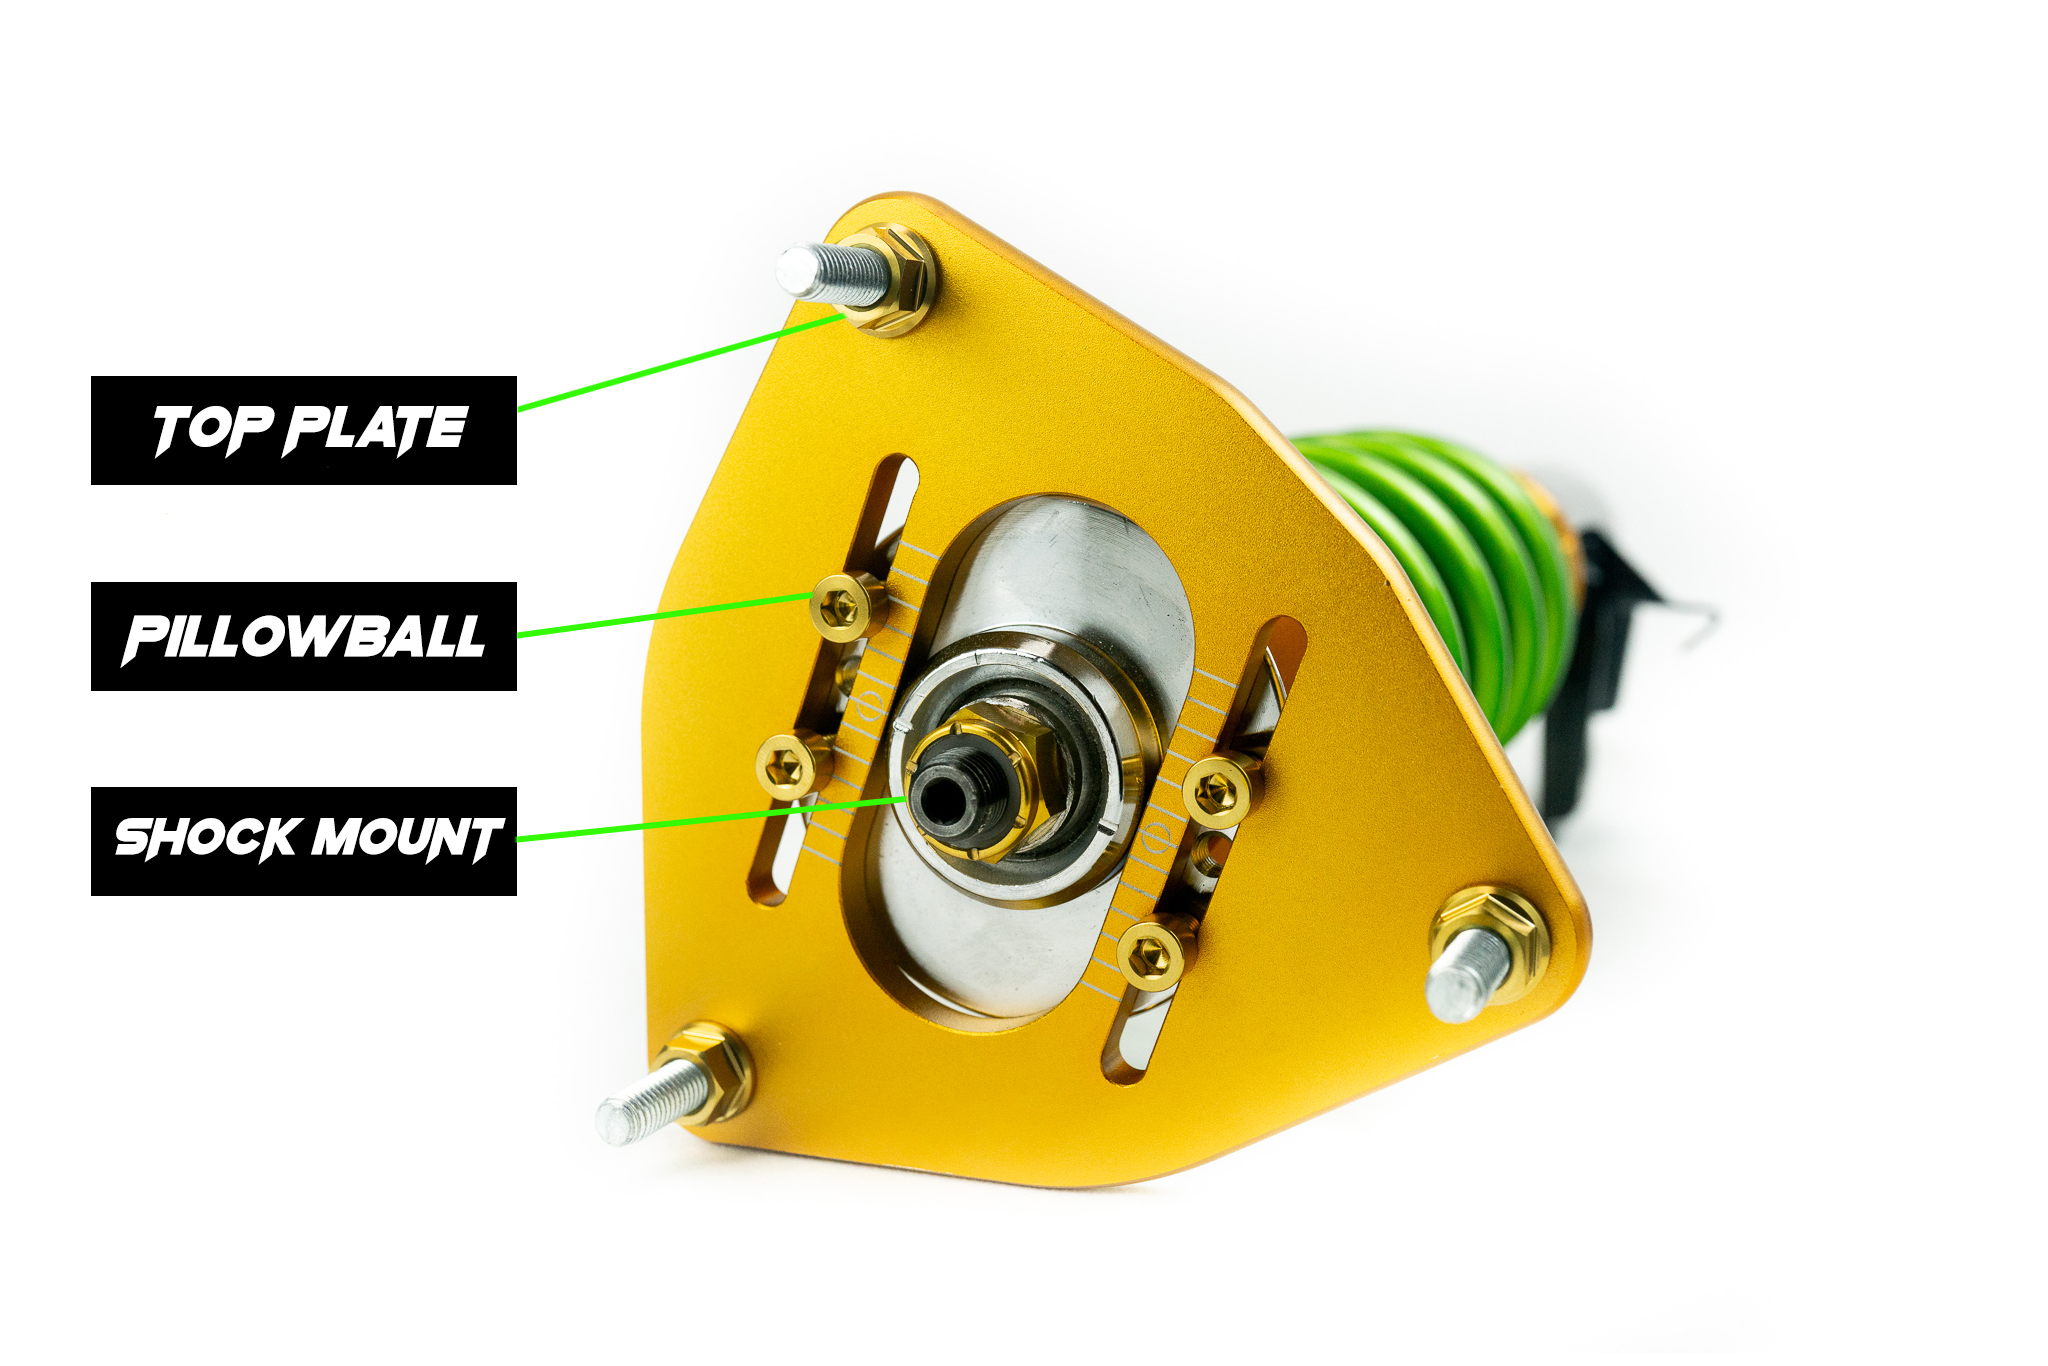
Starting with the top plate nuts, loosen with the 12/14mm and replace with your new titanium hardware. Torque specs for these are 17 lbs/ft for the M8 version, and 34 lbs/ft for the M10. Next is the shock mount nut. For this, we used a pass-through 19mm socket since we had to hold the shaft from spinning with a 5mm allen. Like before, you’re going to remove the old nut, and do the opposite steps to install the new one. Lastly, the pillowball bolts, these are what allow you to adjust the camber settings on your camber plate. These come off with a 5mm allen. Take them off and re-install the titanium bolts one at a time. When re-installing the new titanium bolts, there will be both a regular washer, and a lock washer. Make sure to use both, and torque these down to 12 lbs/ft.
Now that all the hardware is installed, you can admire the new custom look of your engine bay!